Connecting a WhatsApp Account to NIZU
This guide walks you through linking your WhatsApp Cloud API to the NIZU WhatsApp plugin. The process covers four stages: creating a Meta app, adding a phone number, configuring a WebHook, and generating a permanent access token.
Prerequisites
Before you begin, make sure you have:
- A Facebook for Developers account
- A WhatsApp-enabled phone number
- Access to your NIZU dashboard as administrator
Step 1 — Create a Meta App
Go to the Meta Developers website
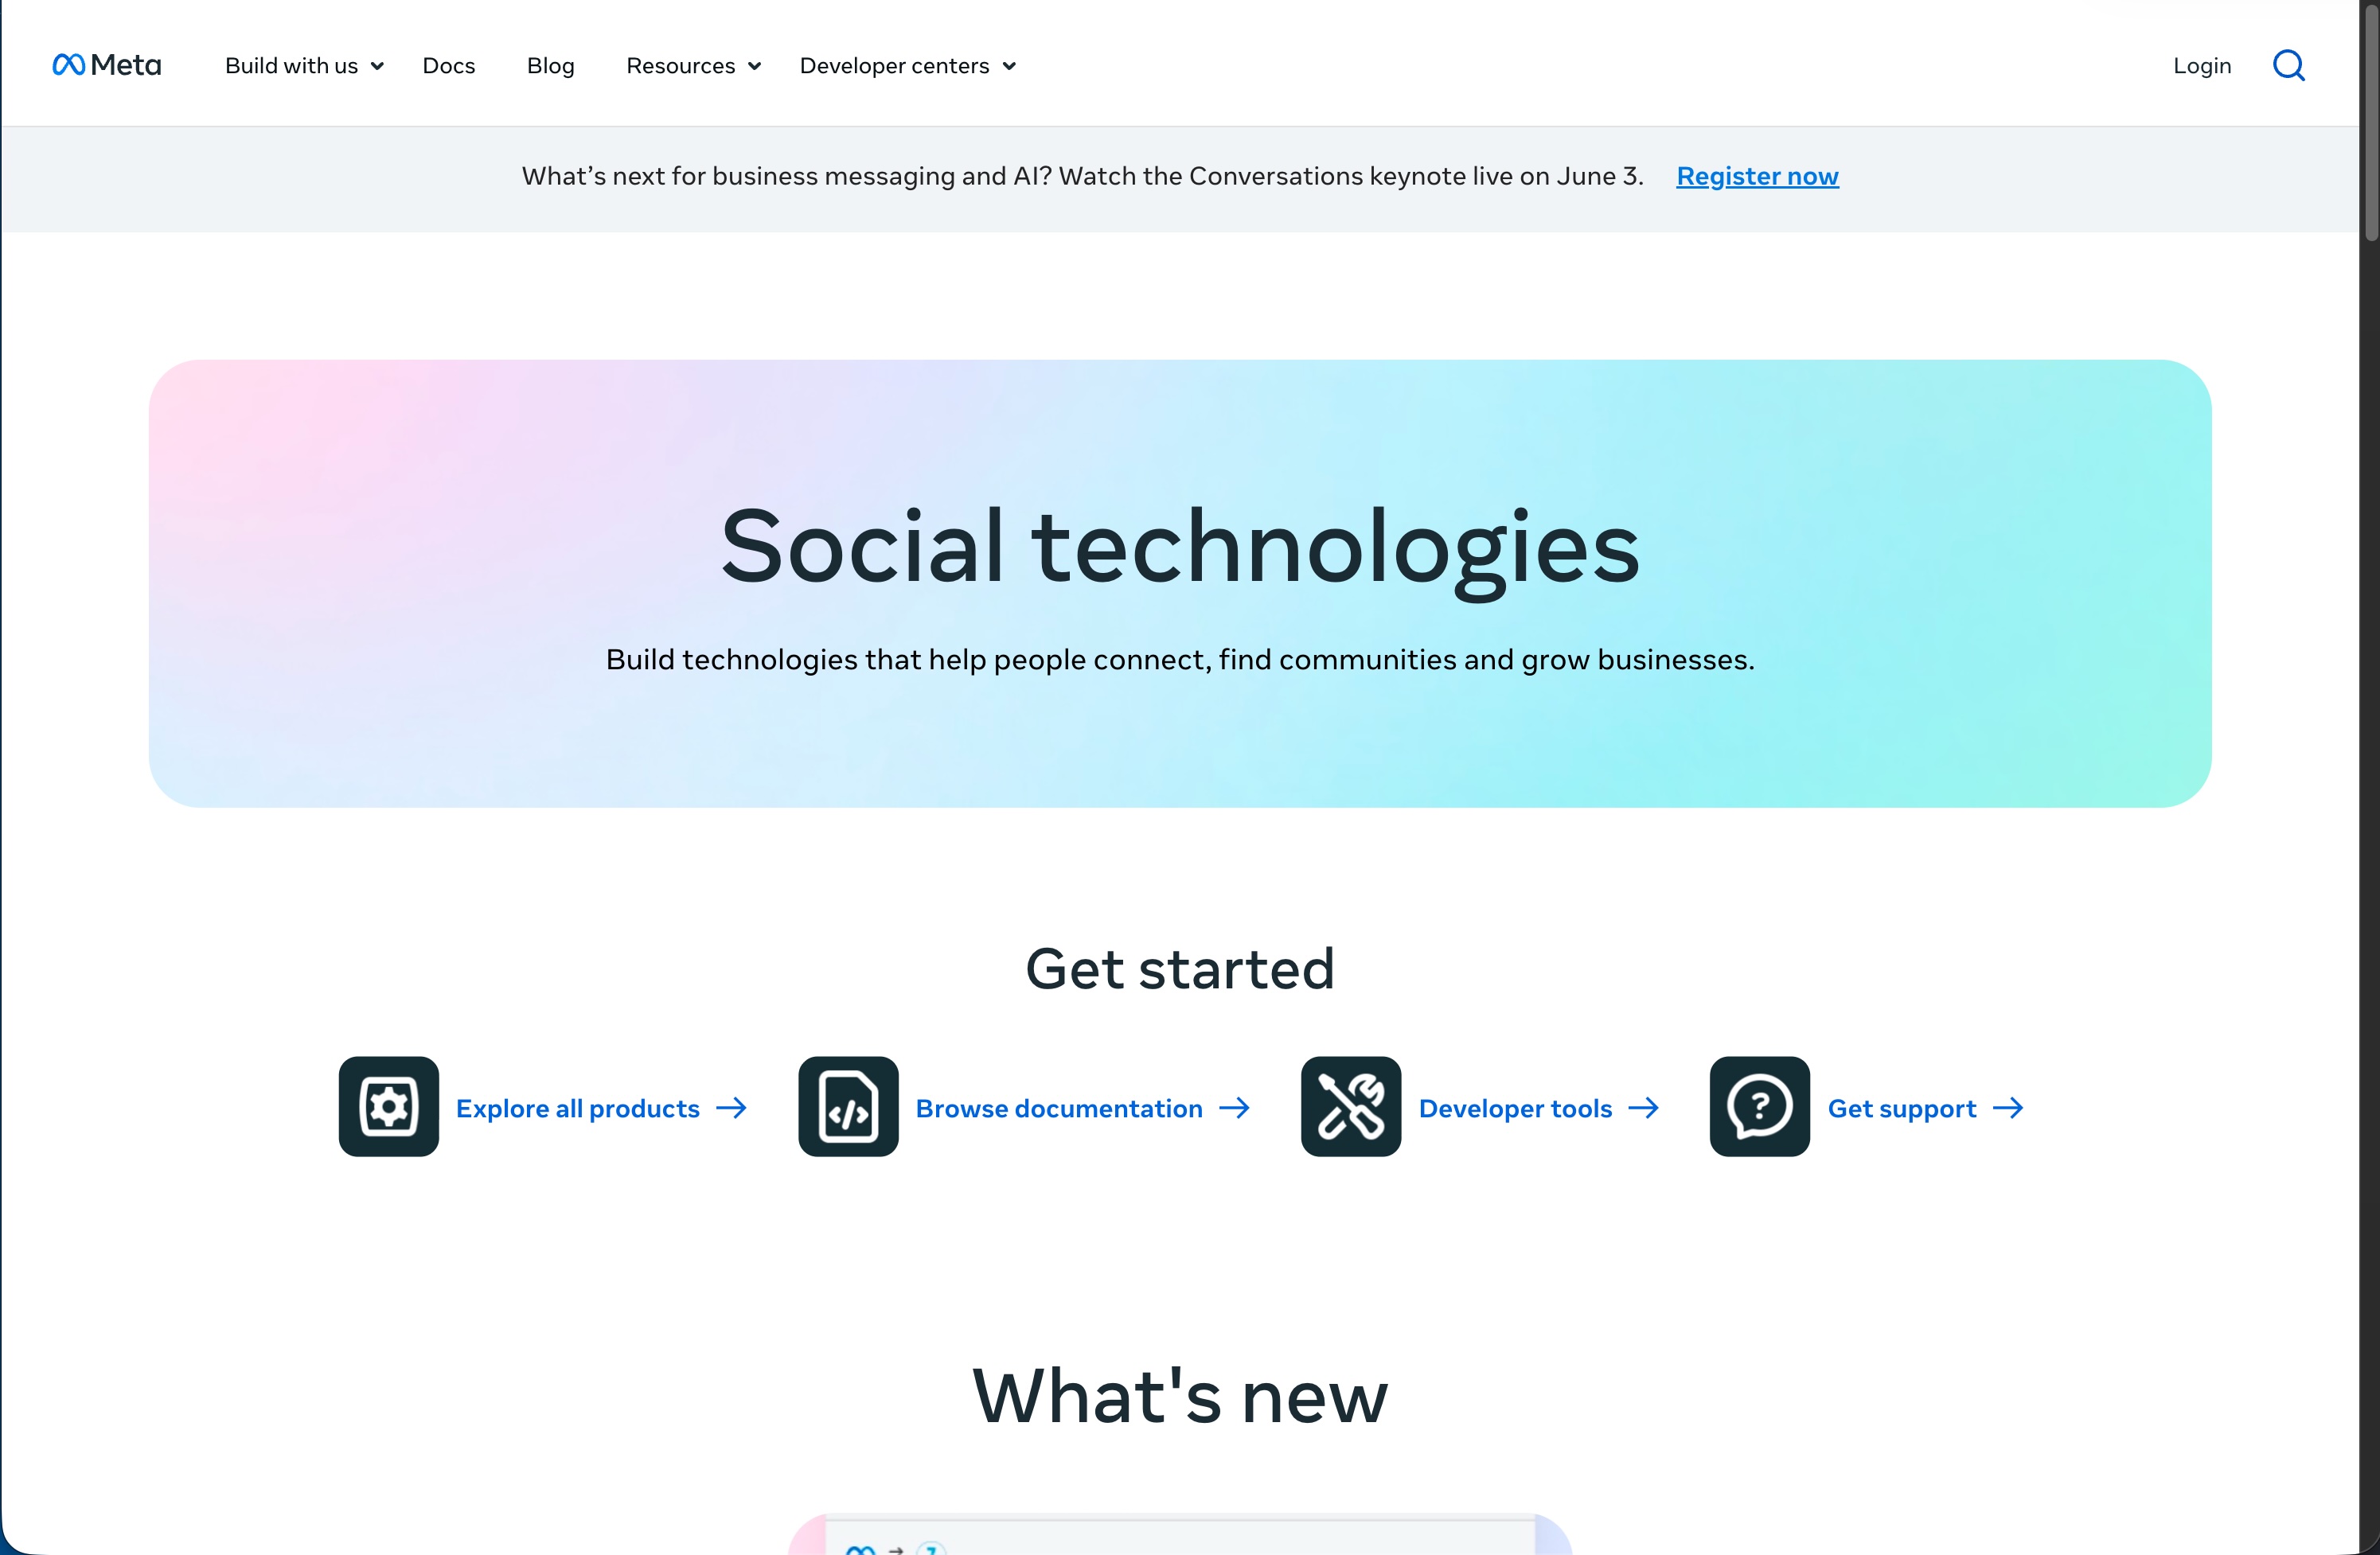
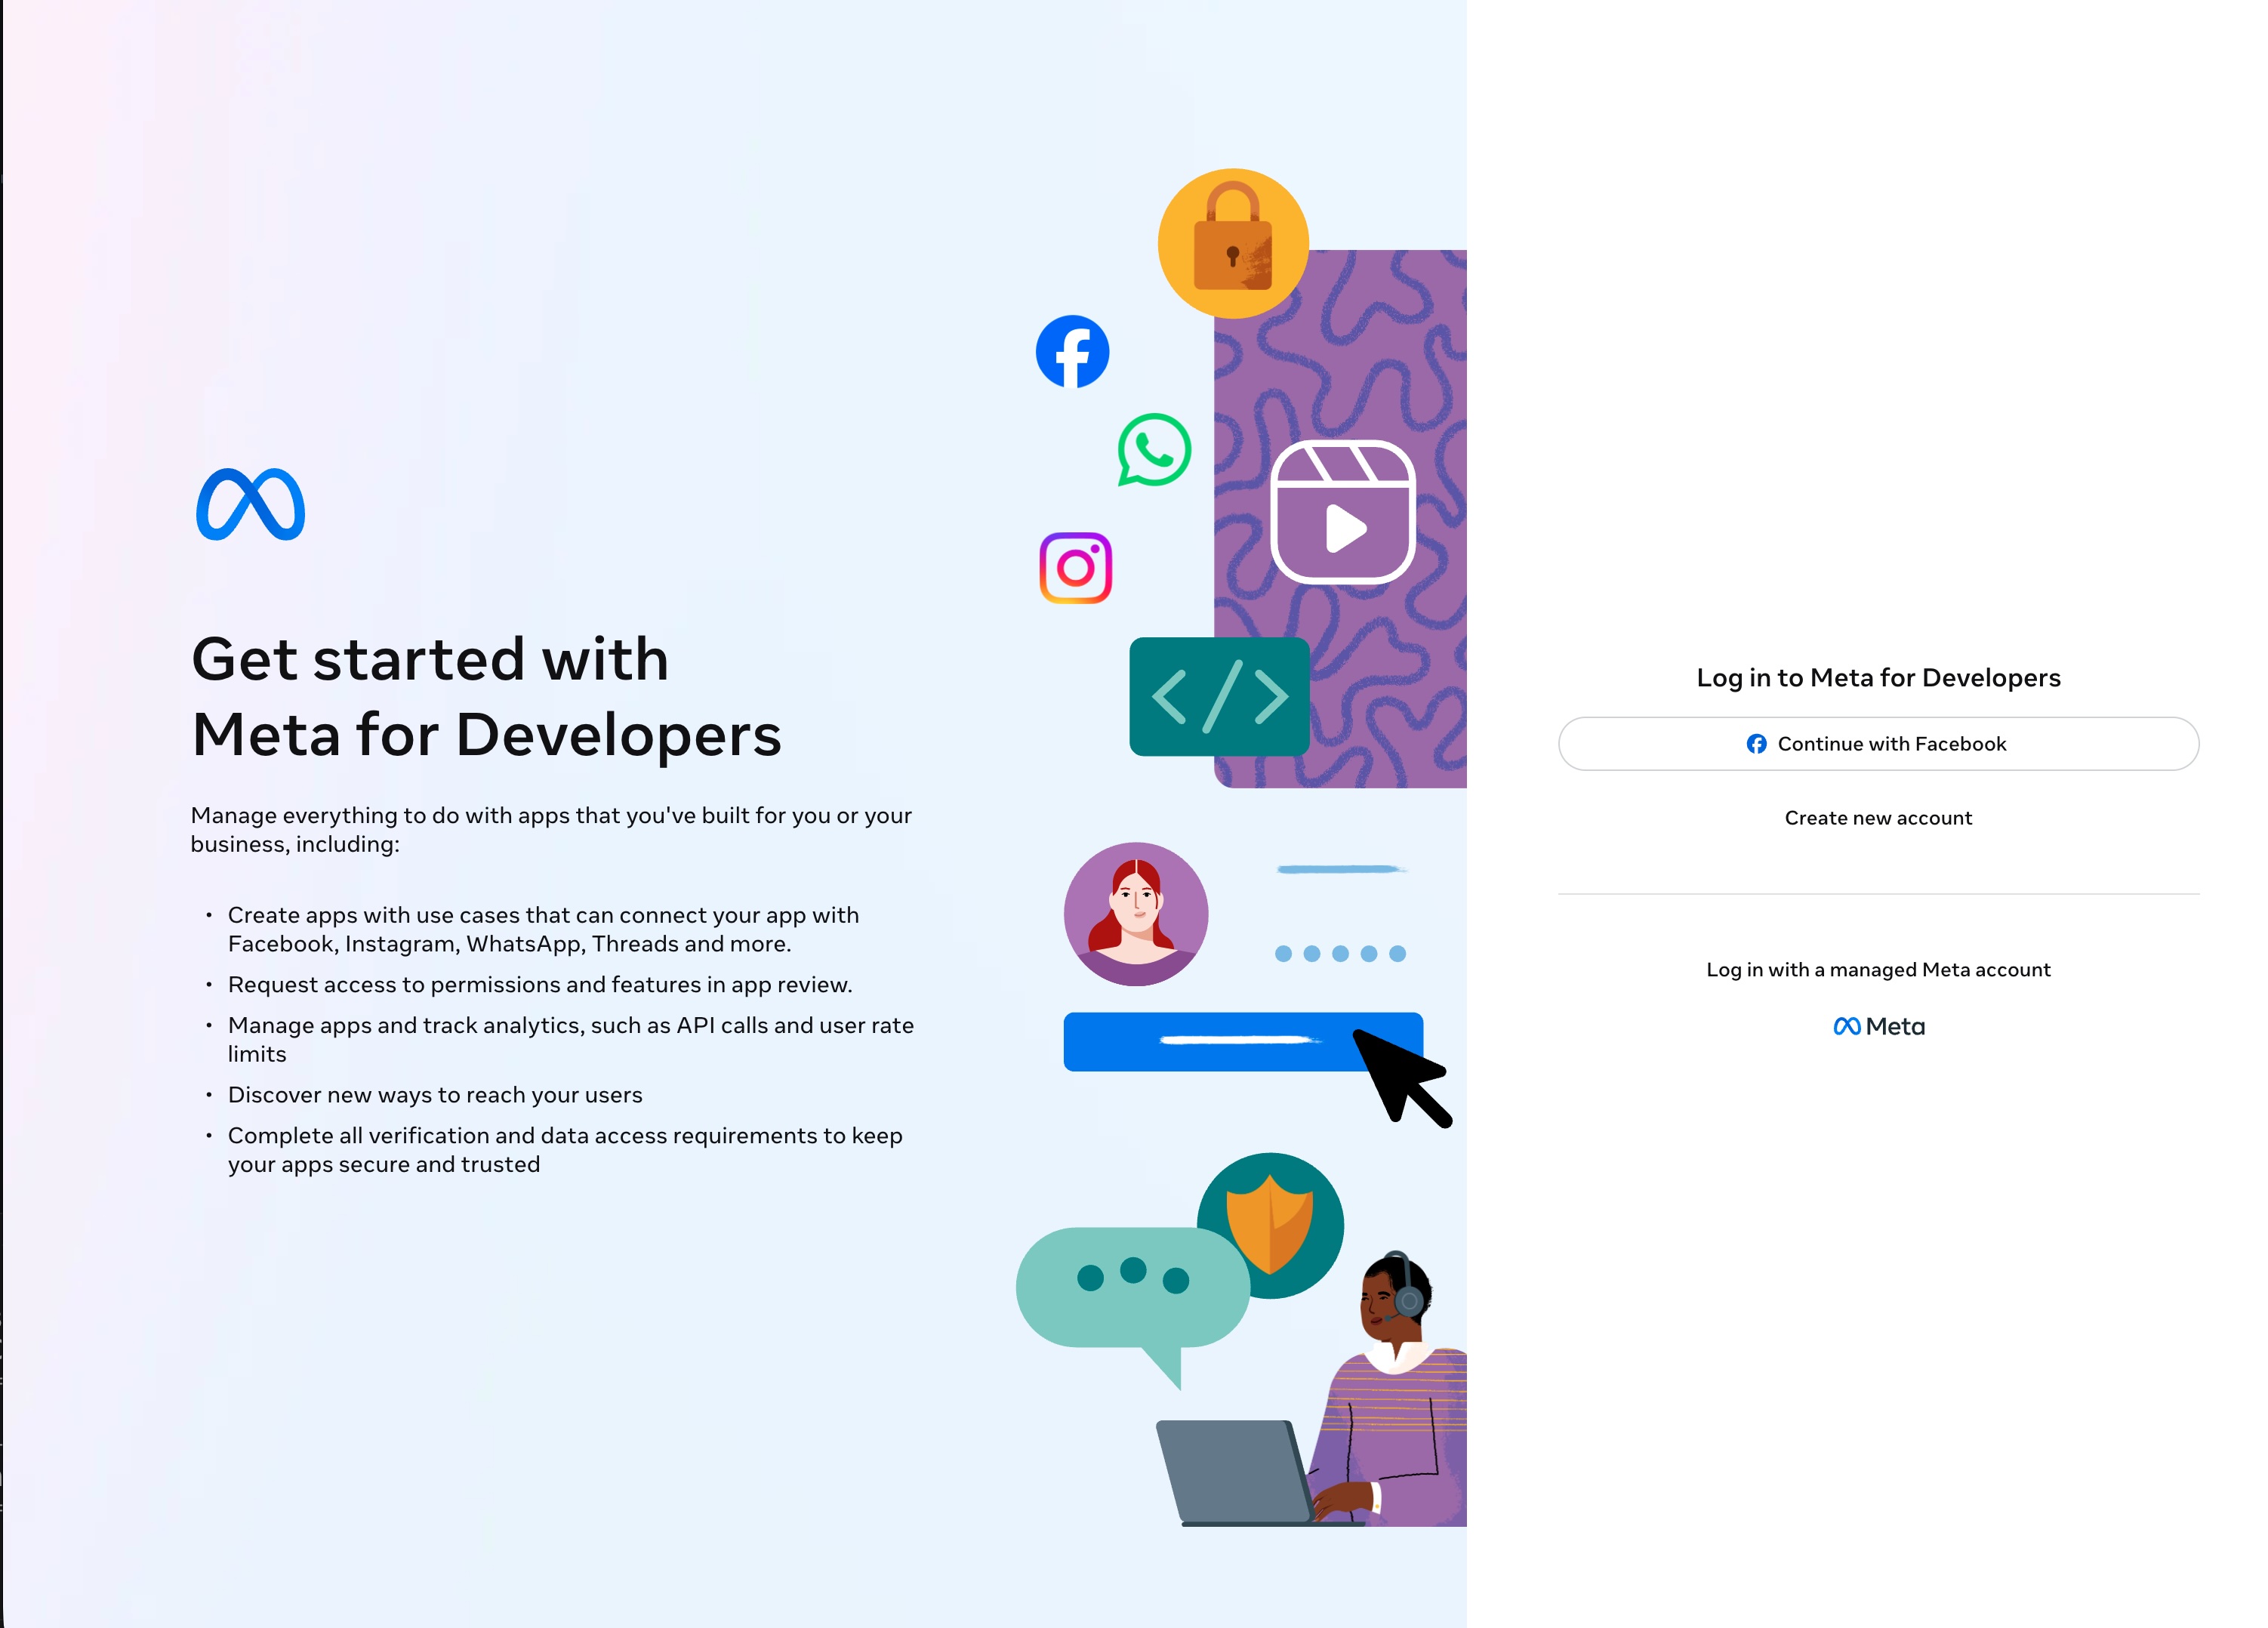
Click on Login
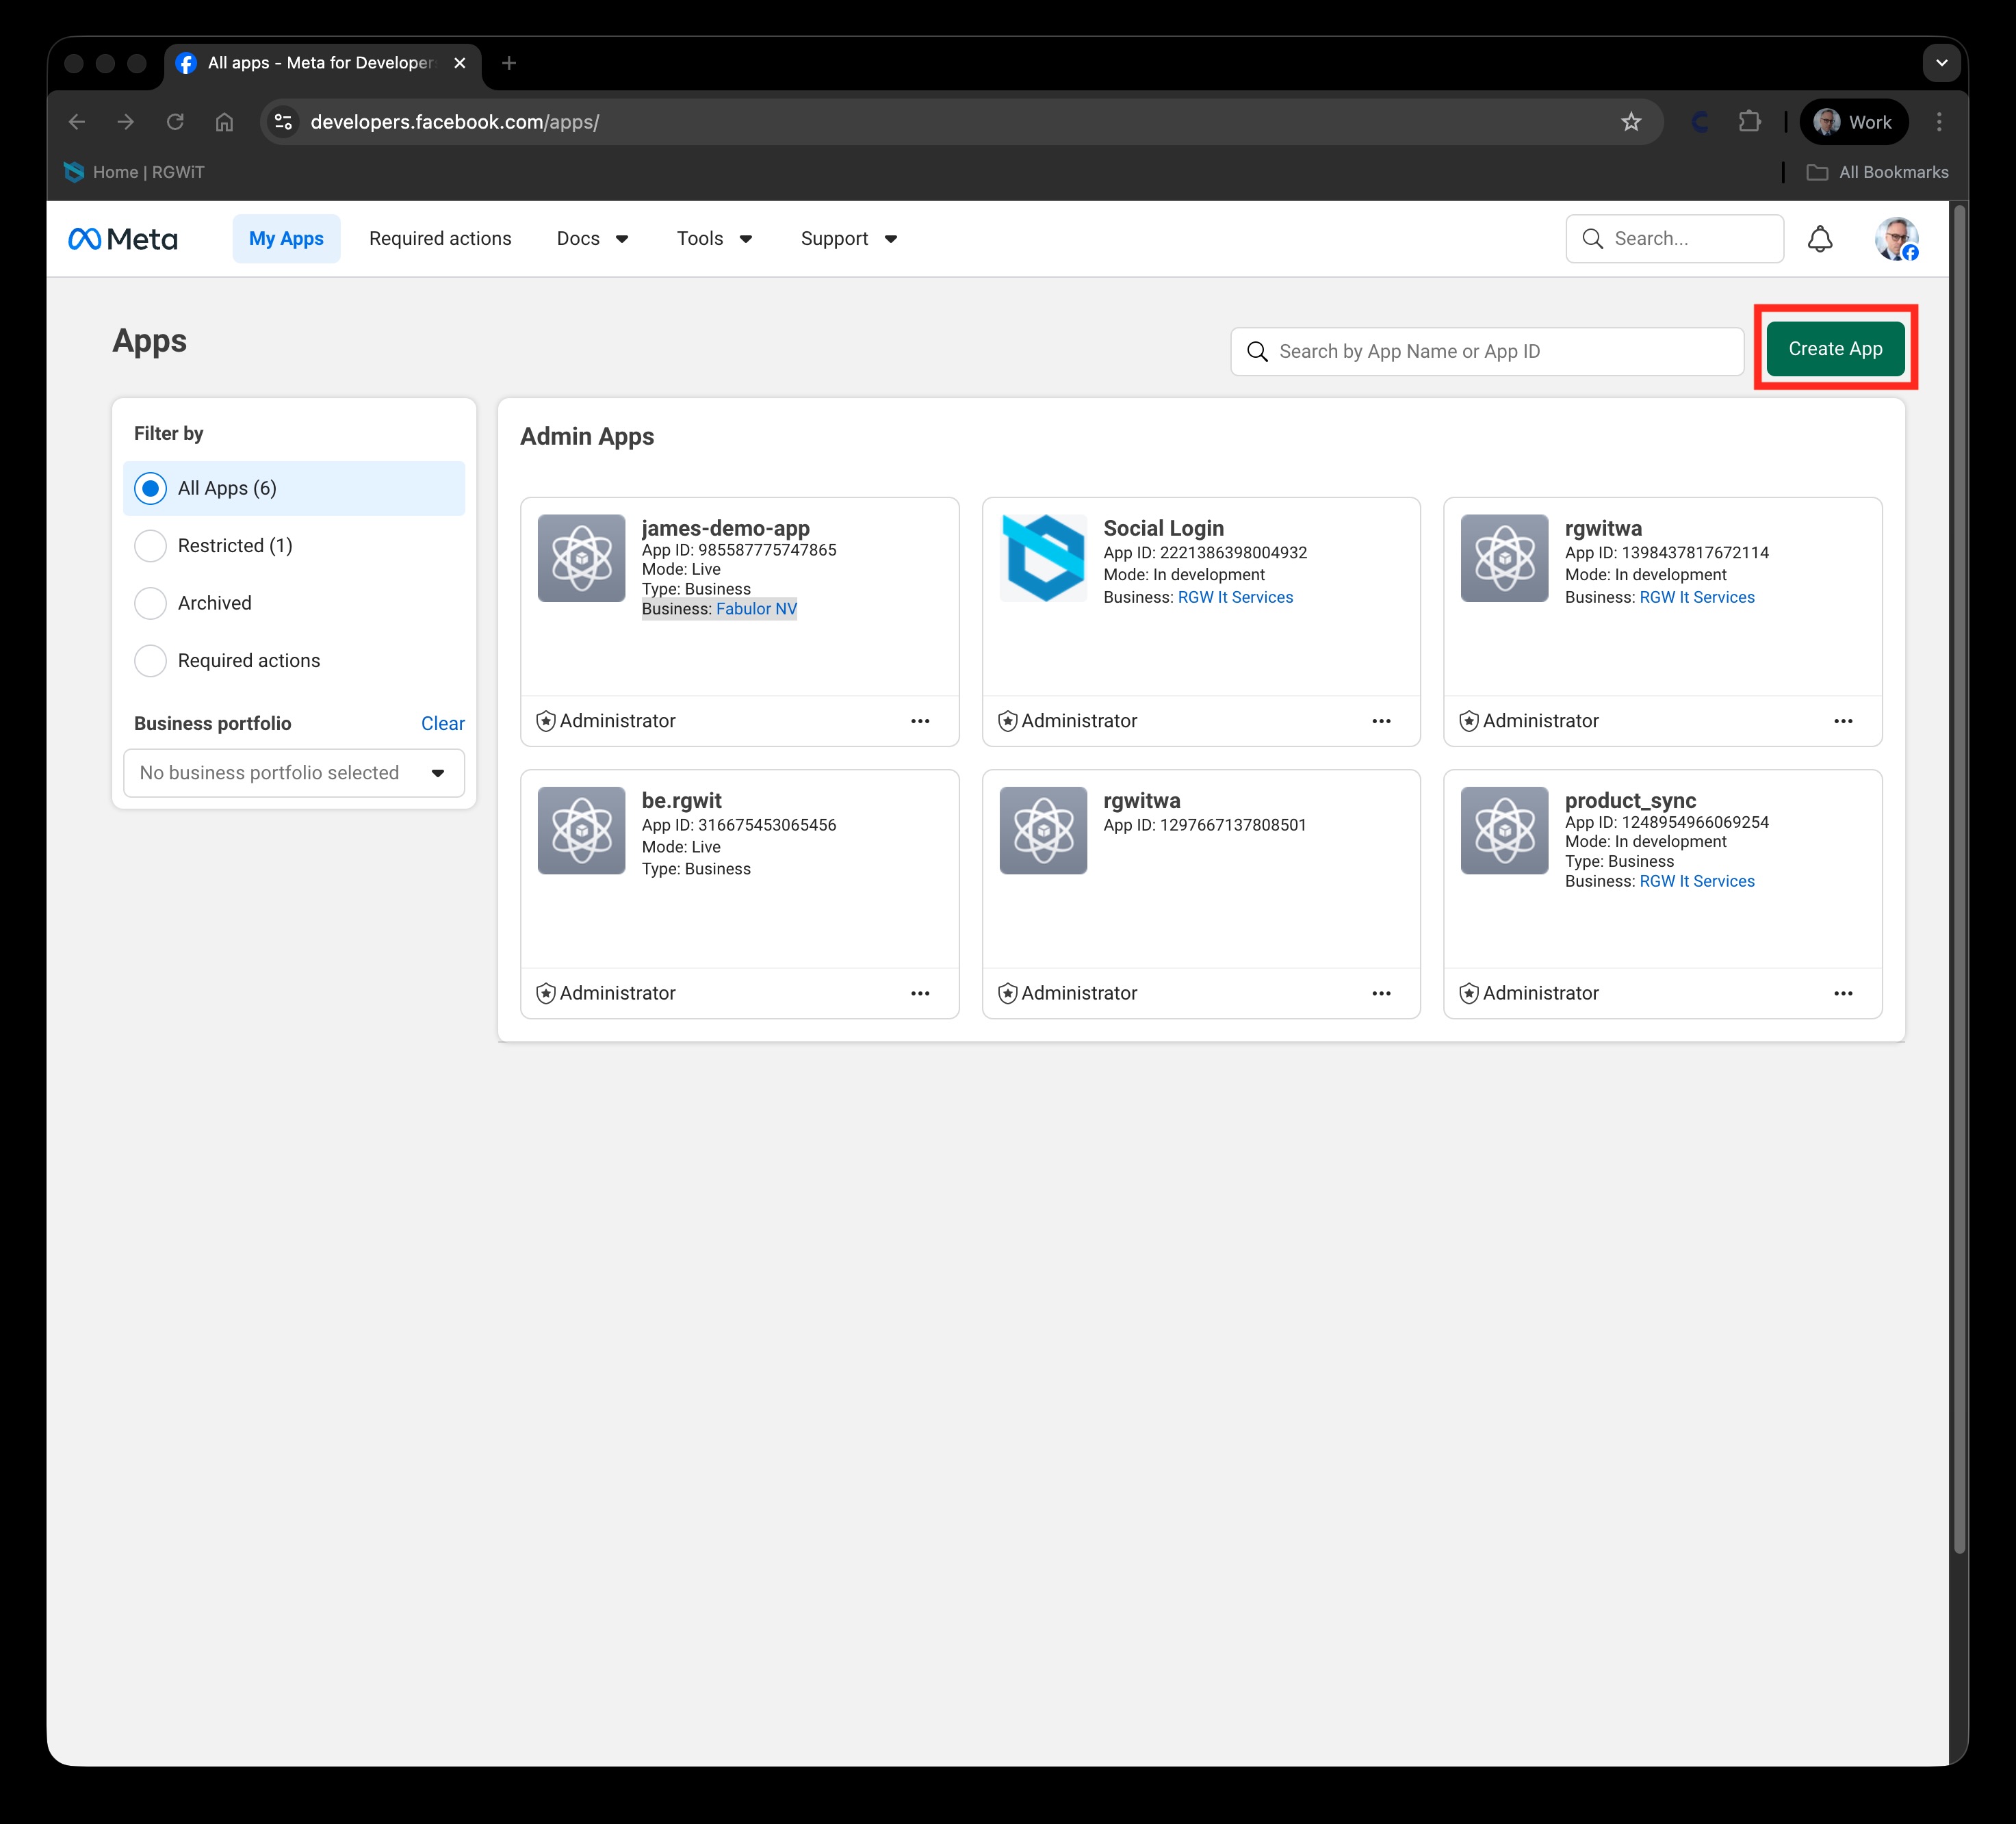
- Go to Facebook for Developers and open the My Apps tab.
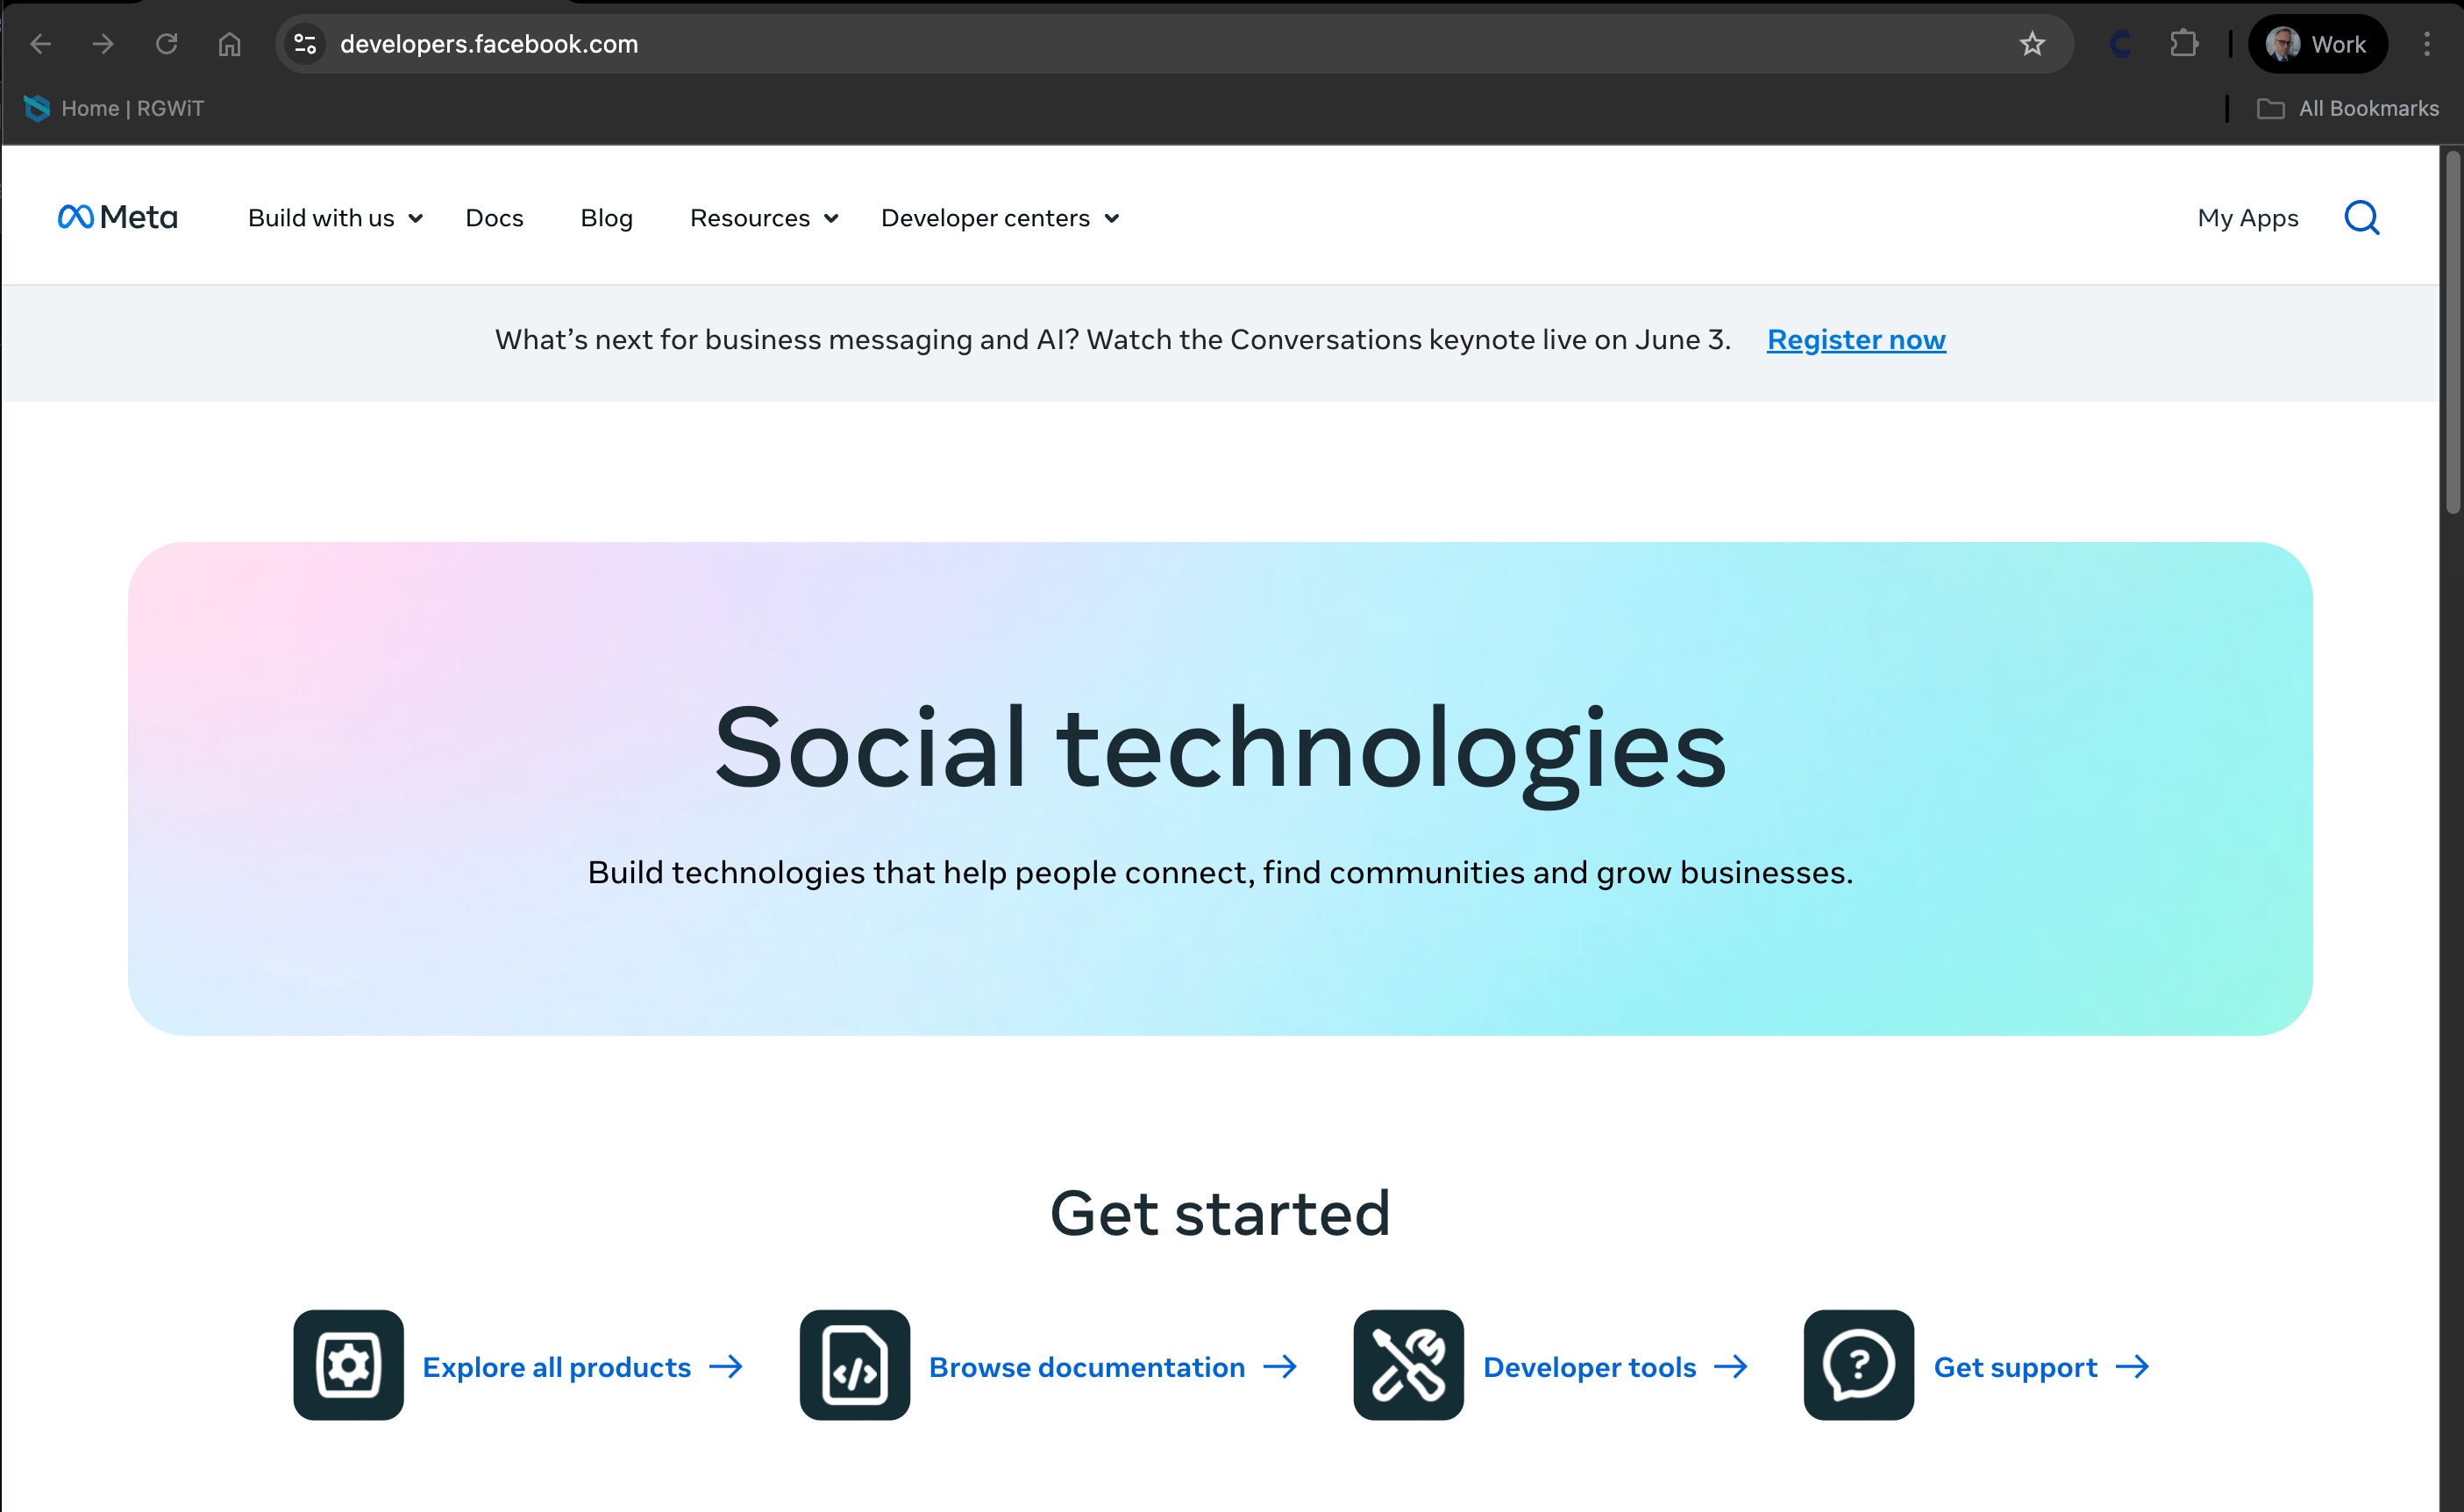
- Click Create App.
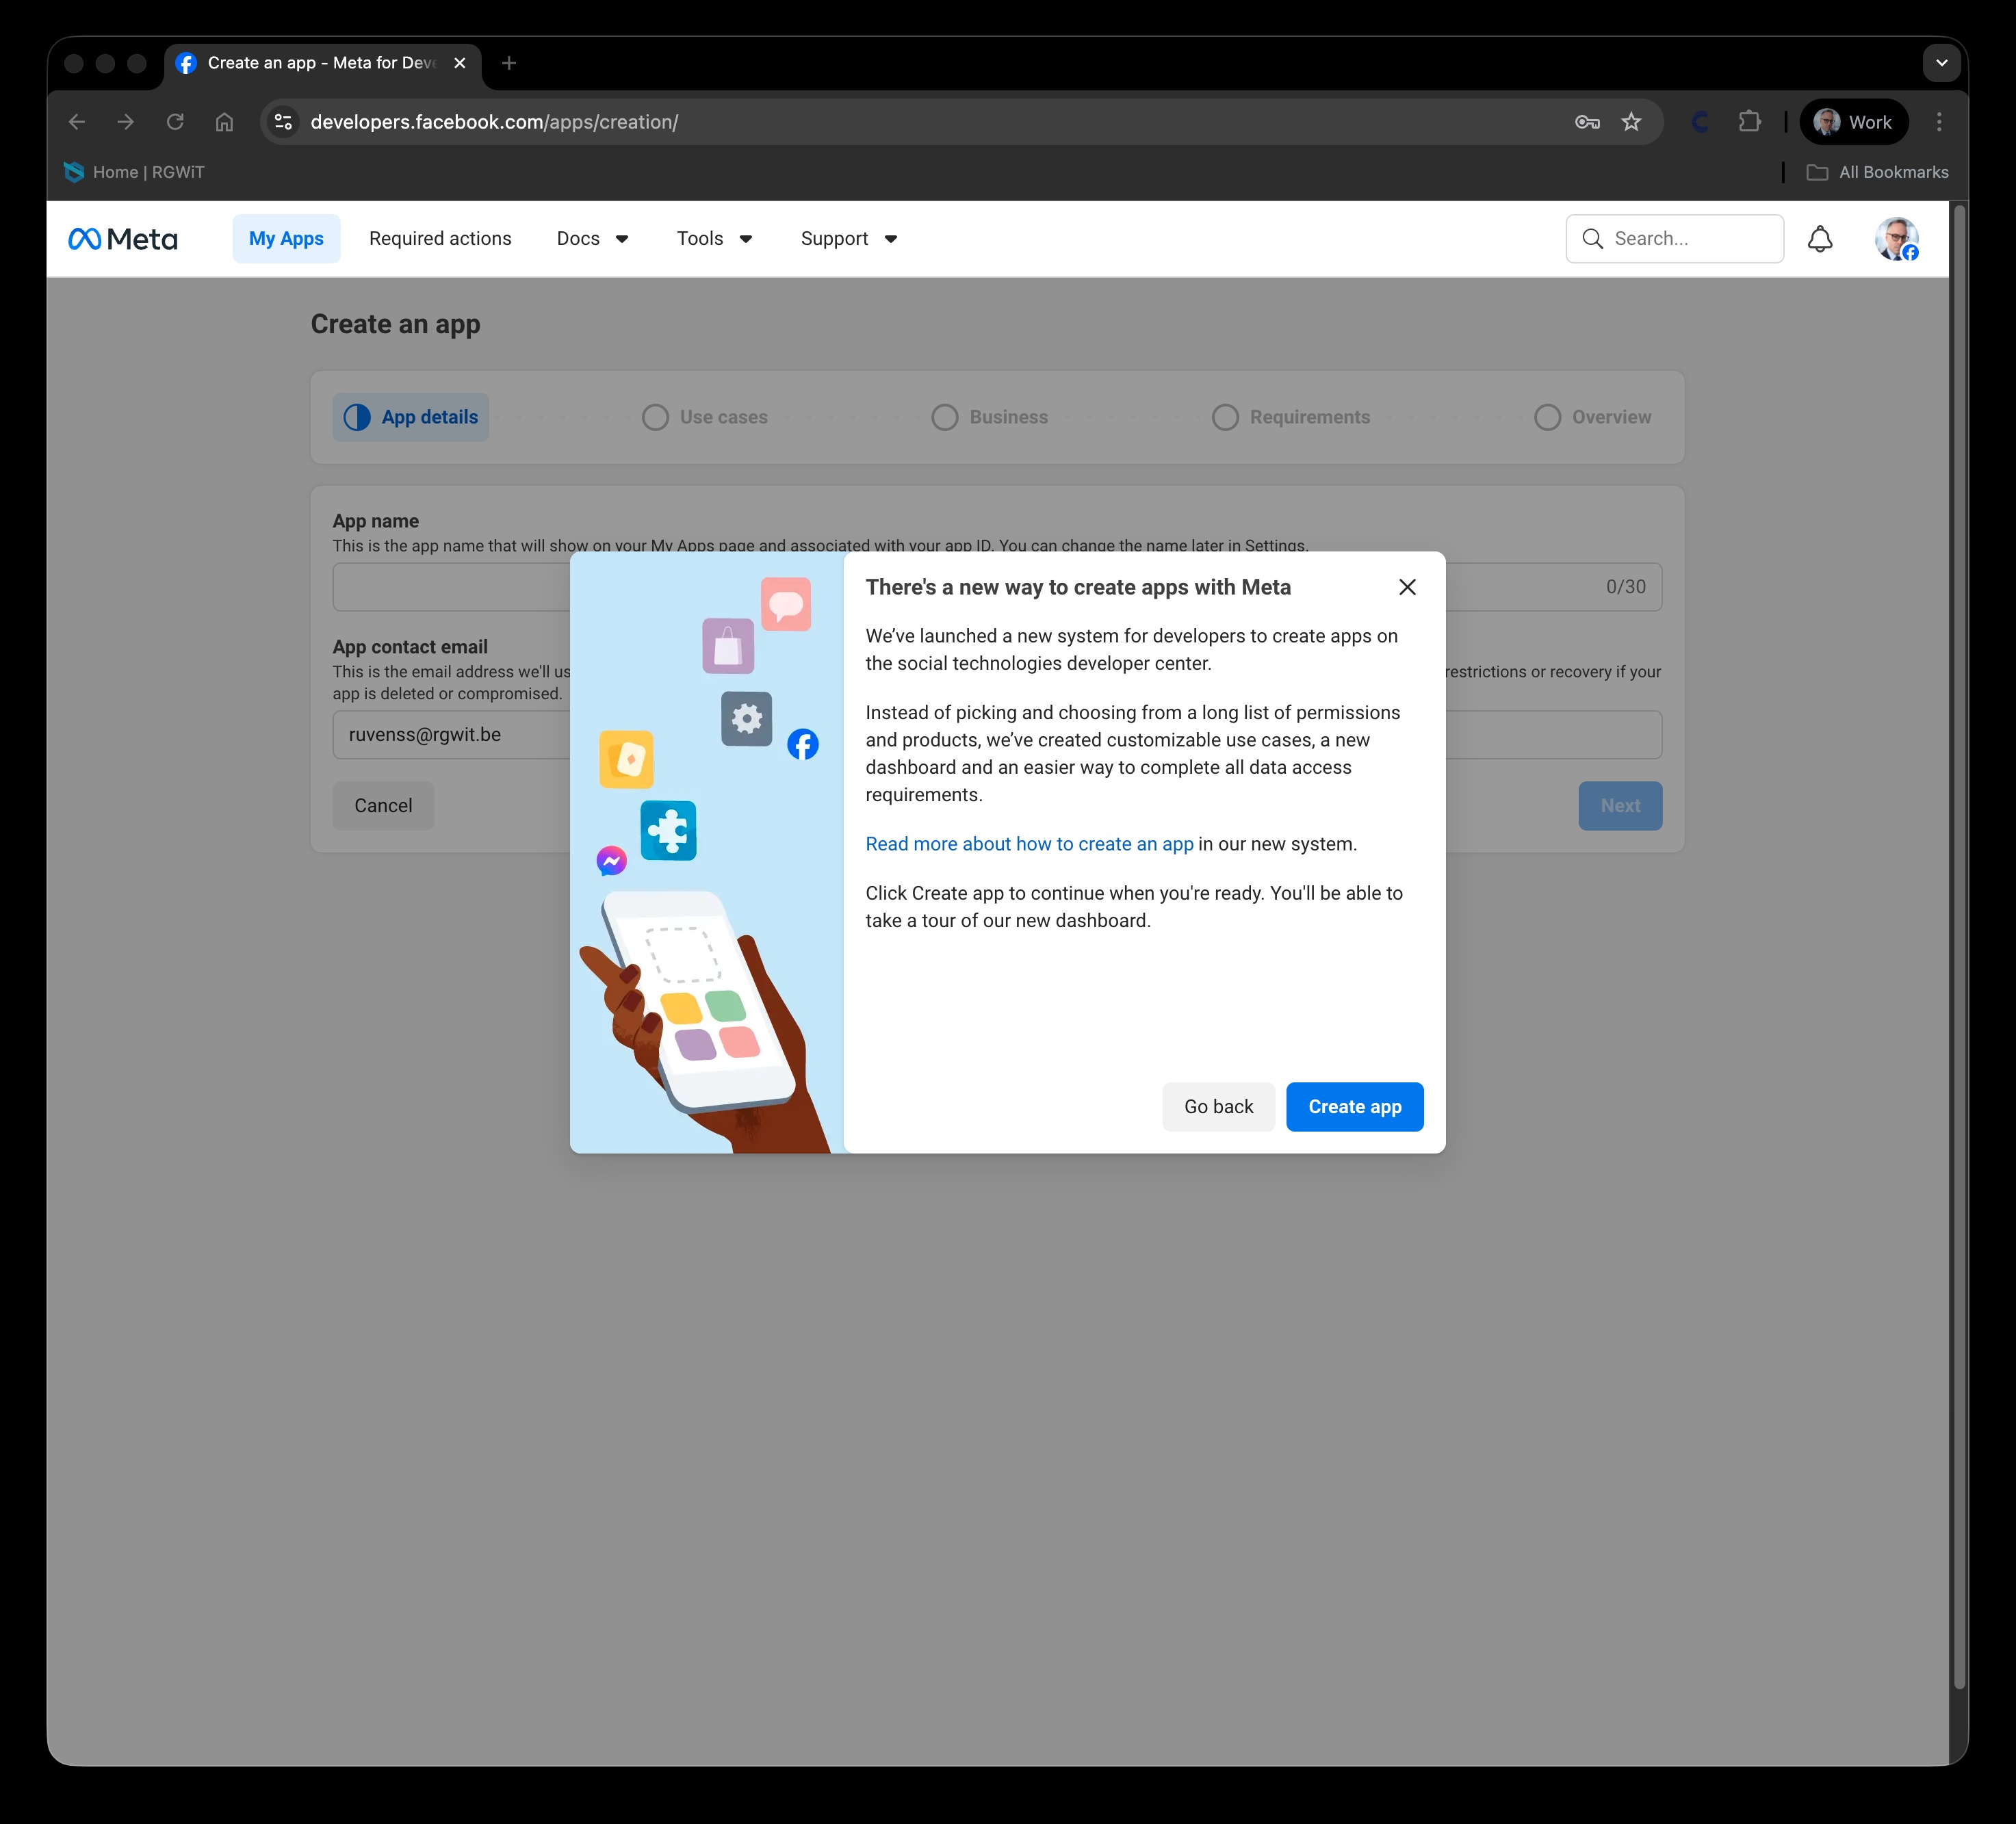
- Read the important legal and terms of service and confirm with Create App.
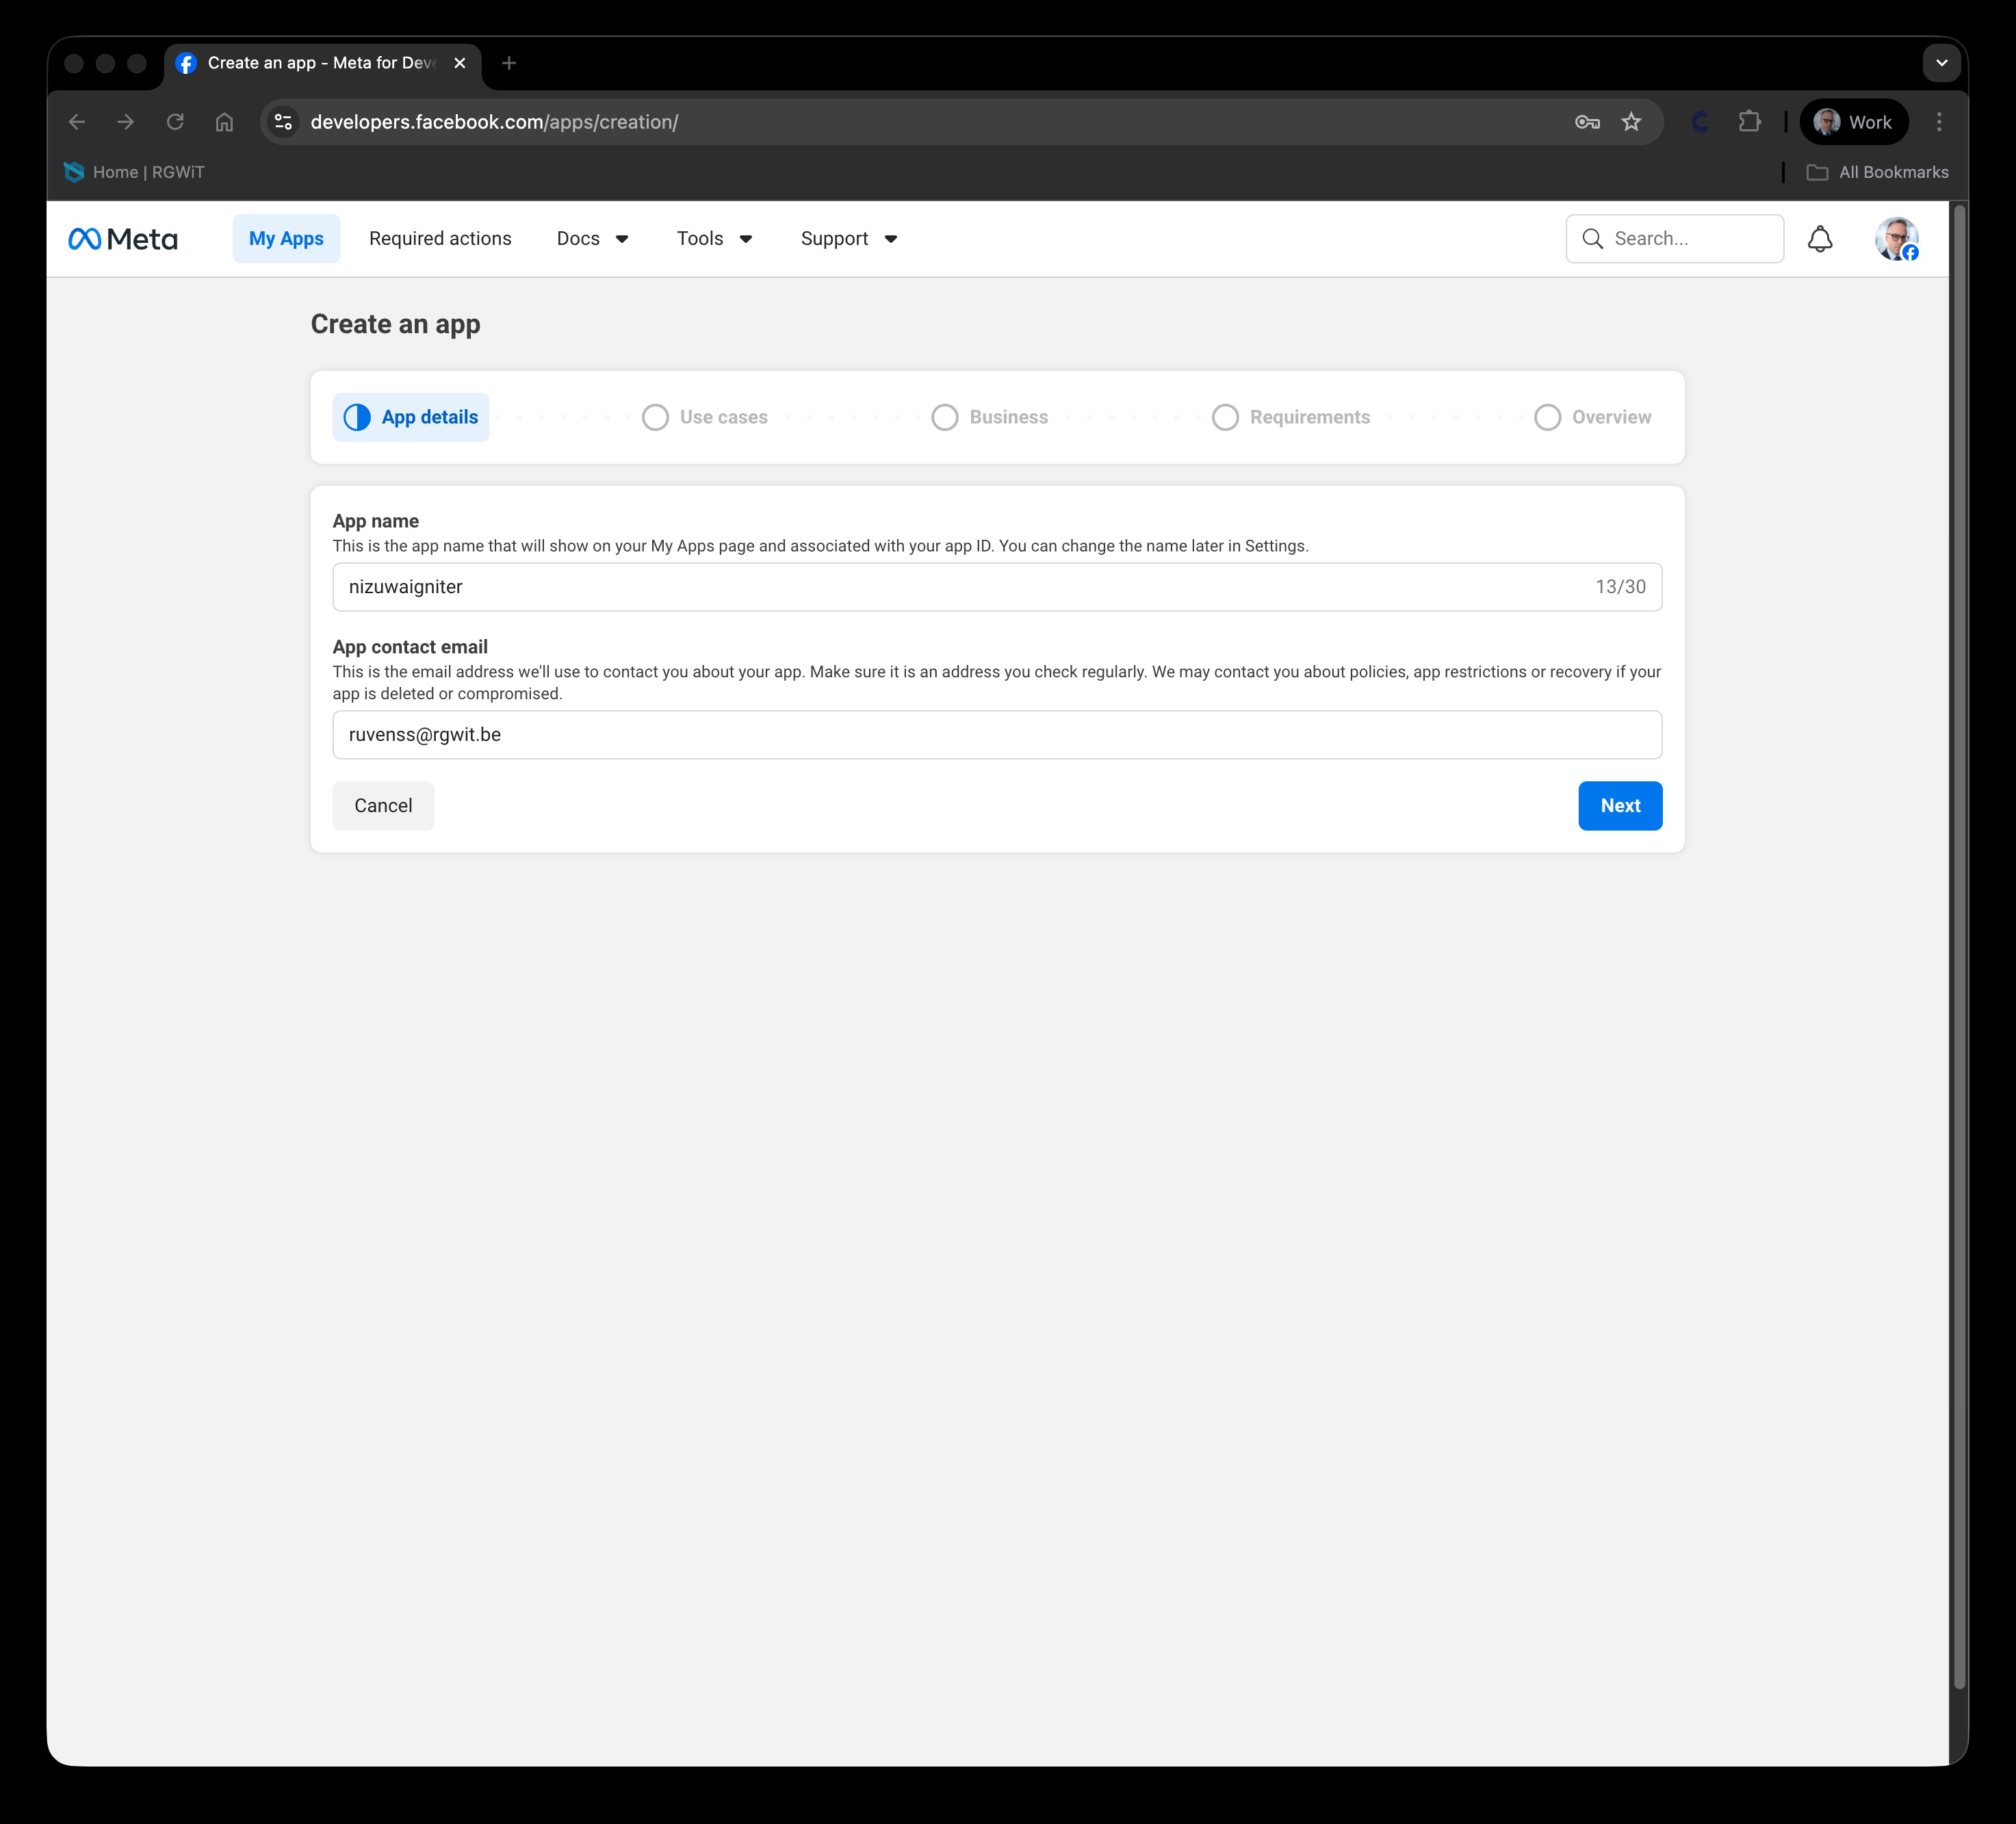
- Fill in the following fields:
- App Name — a name for your app
- App Contact Email — your contact email
- Business Account — optional; link an existing Business account if needed
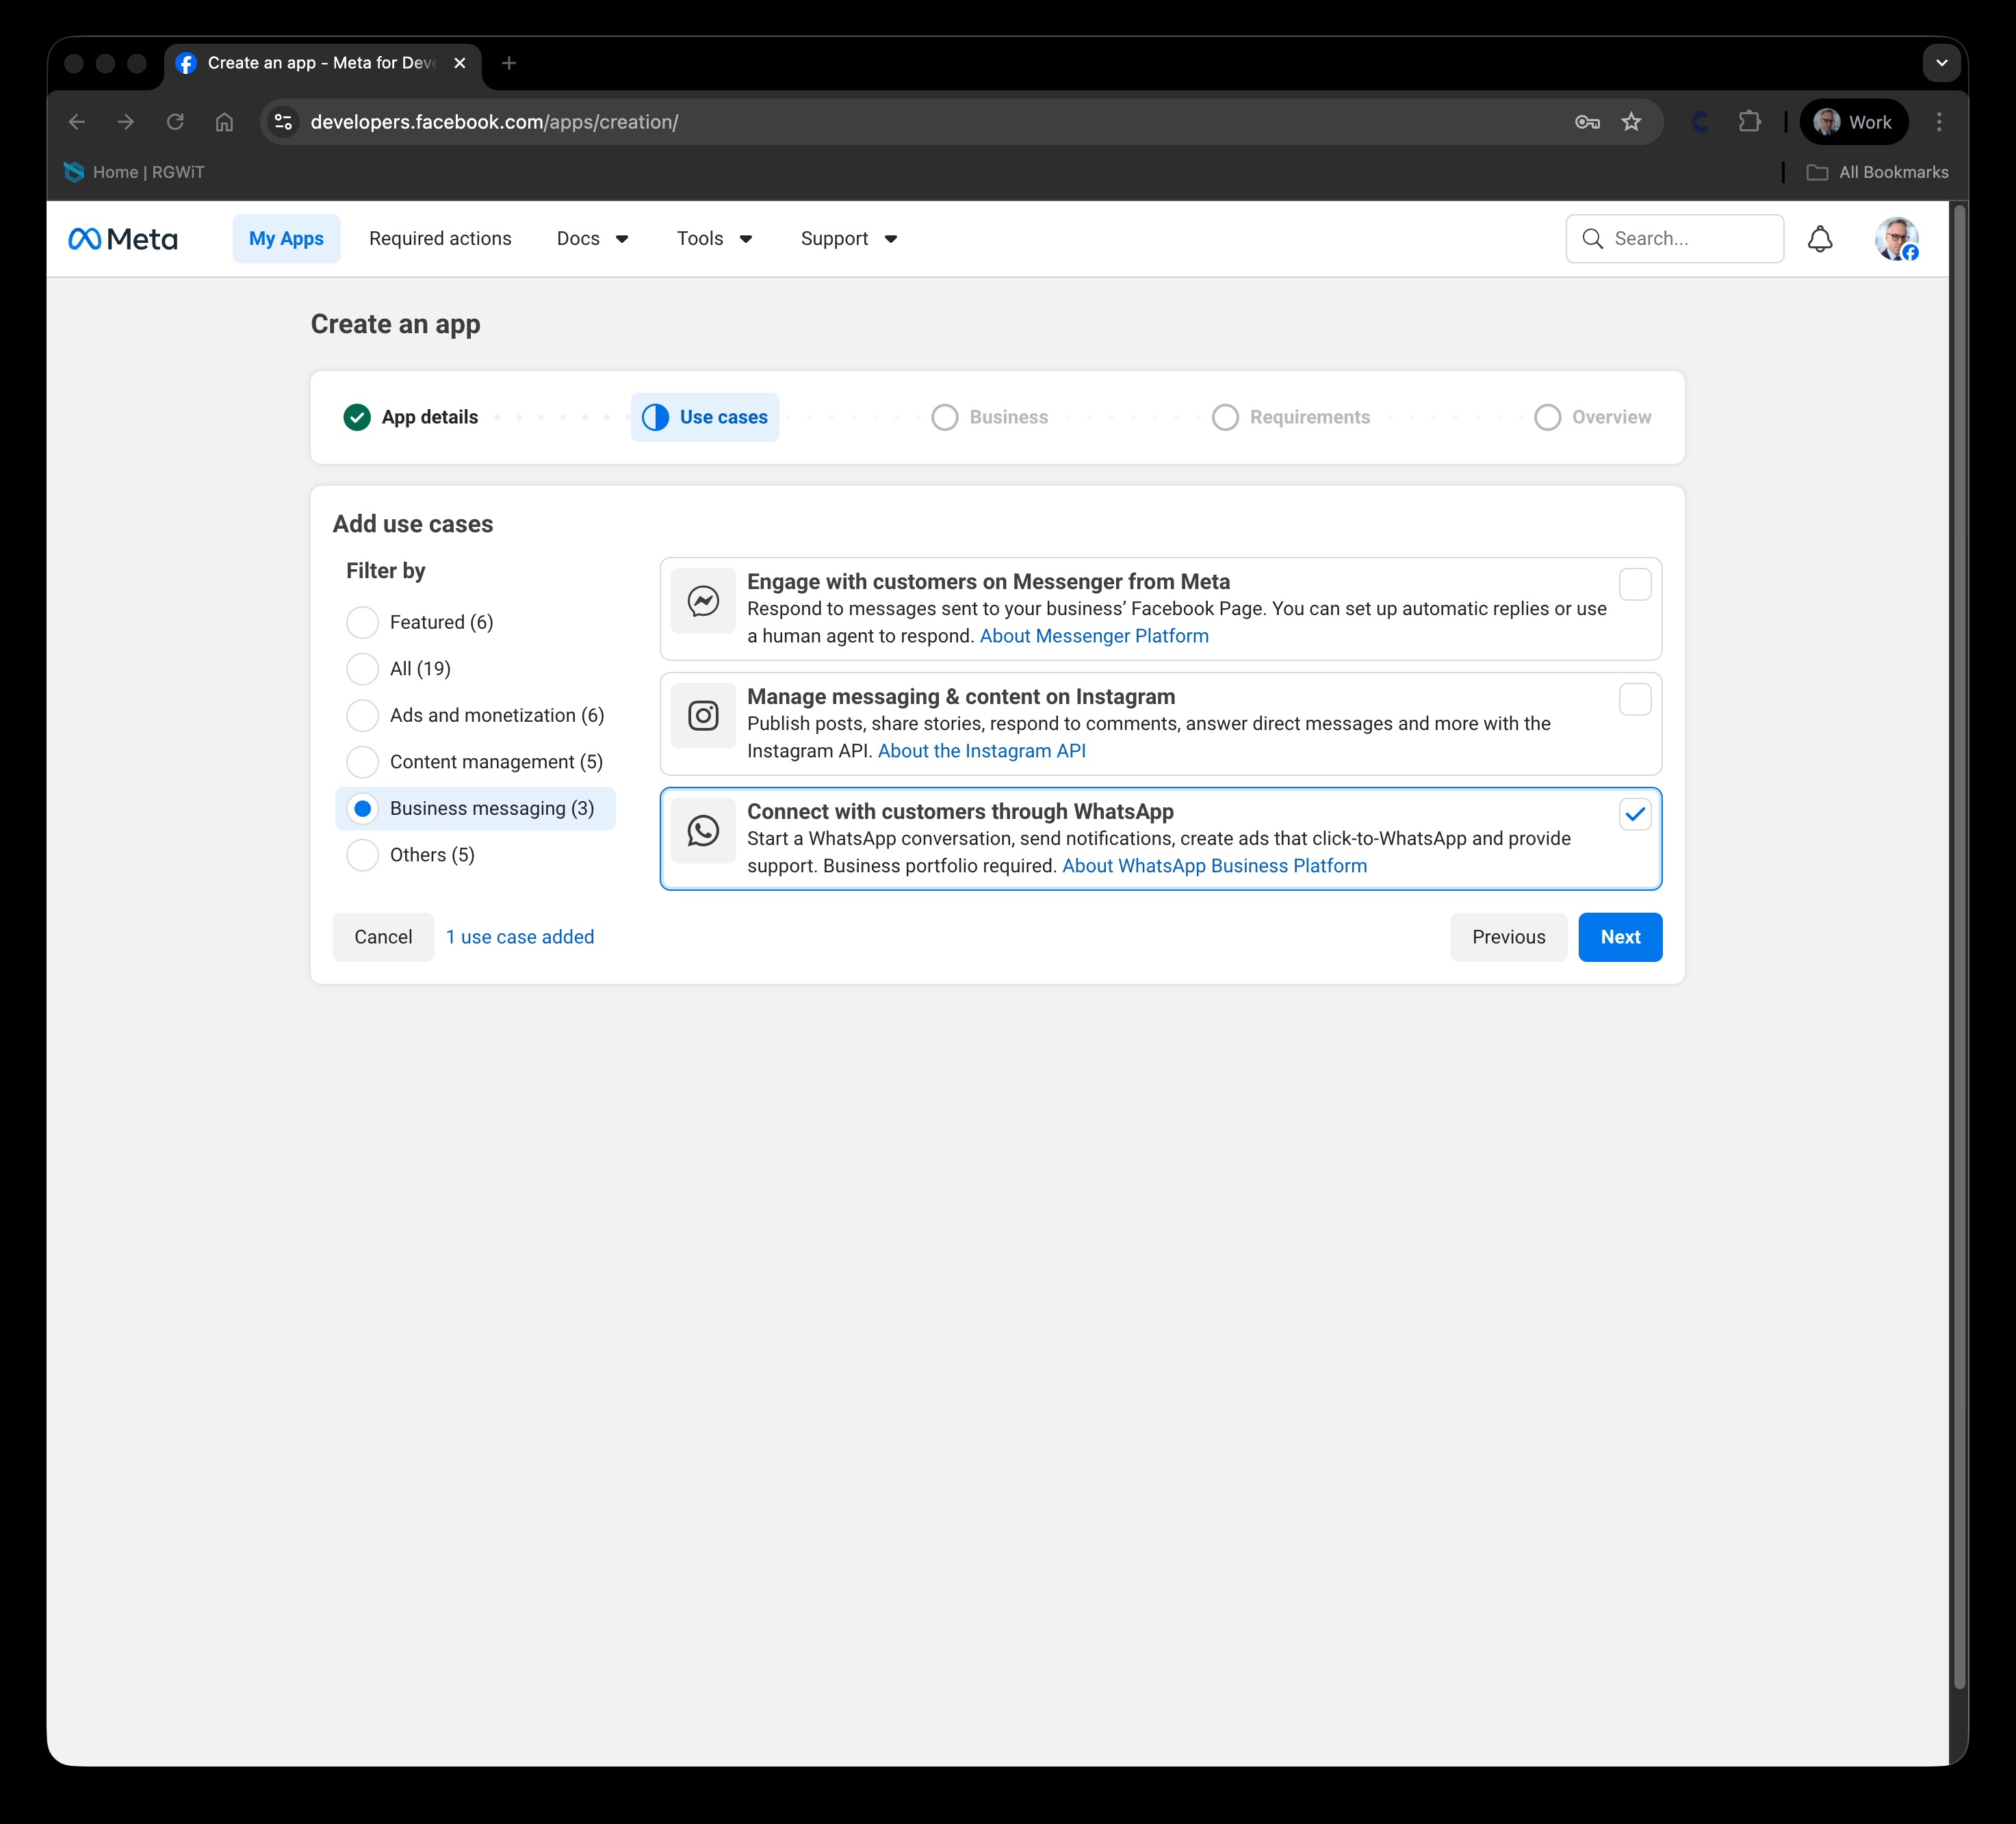
- Use cases select Business messaging -> Connect with customers through WhatsApp using the checkbox
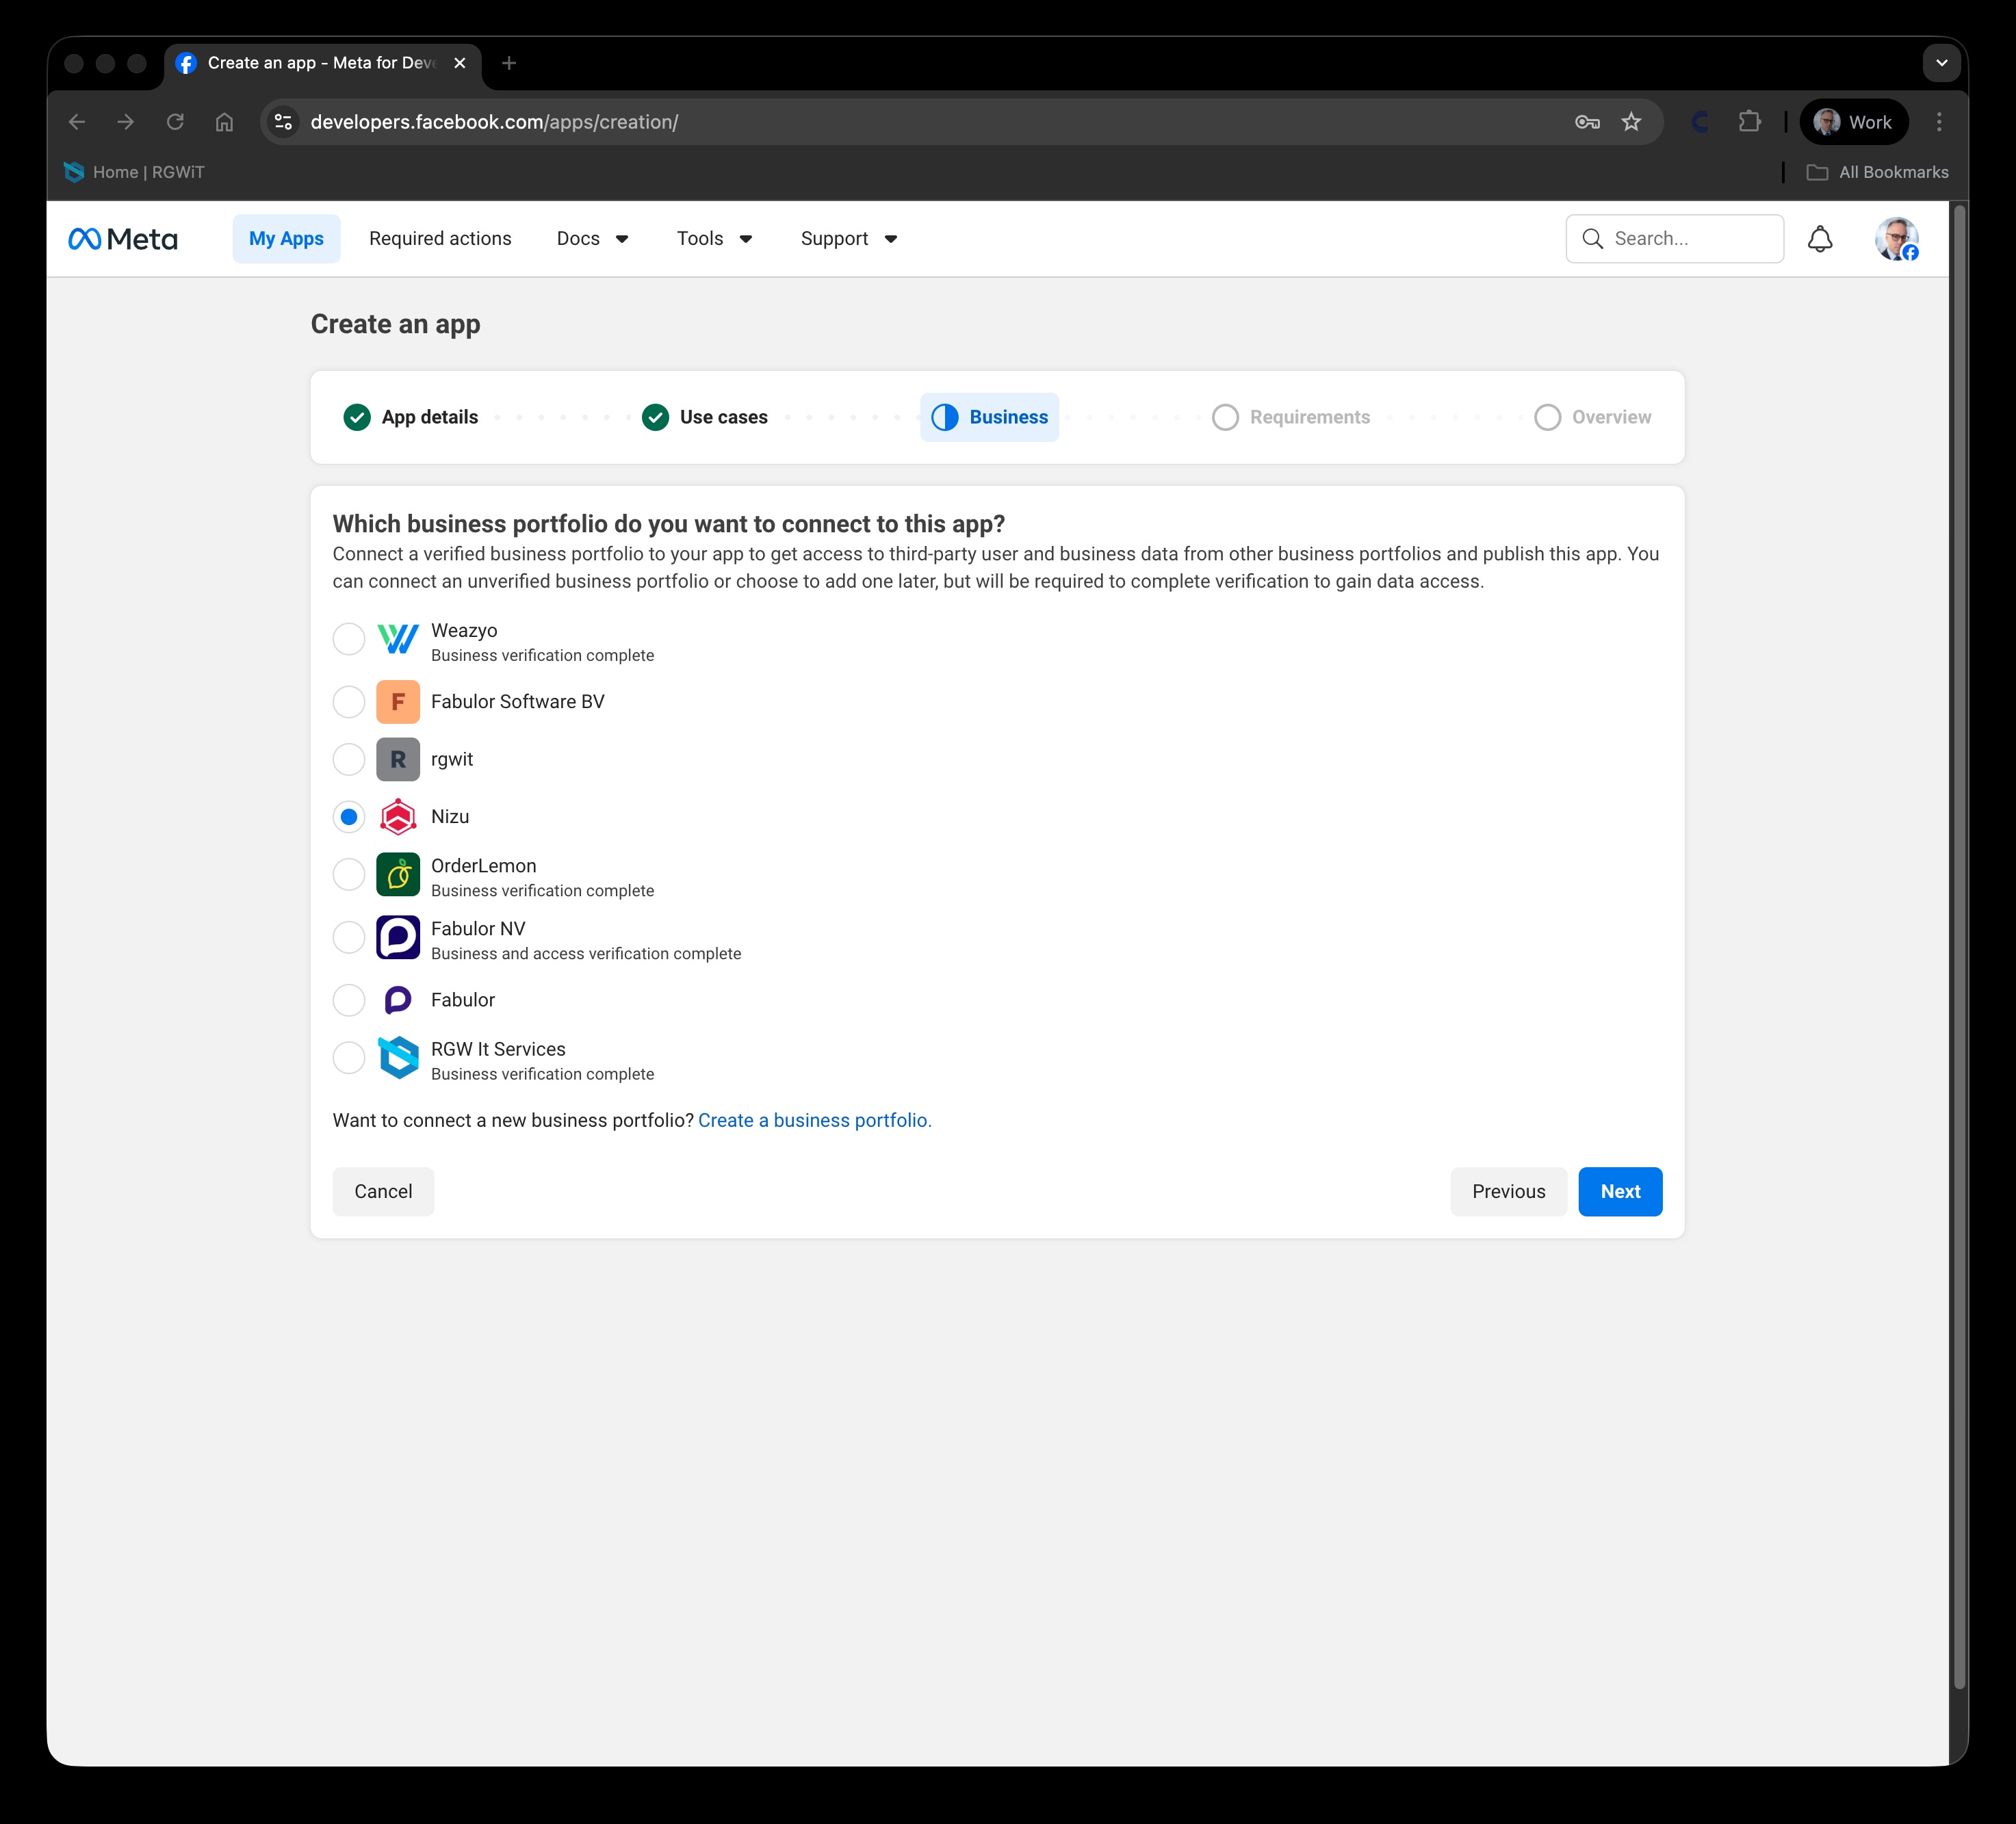
- Select your business from the portfolio (preferably those that have the Business verification complete)
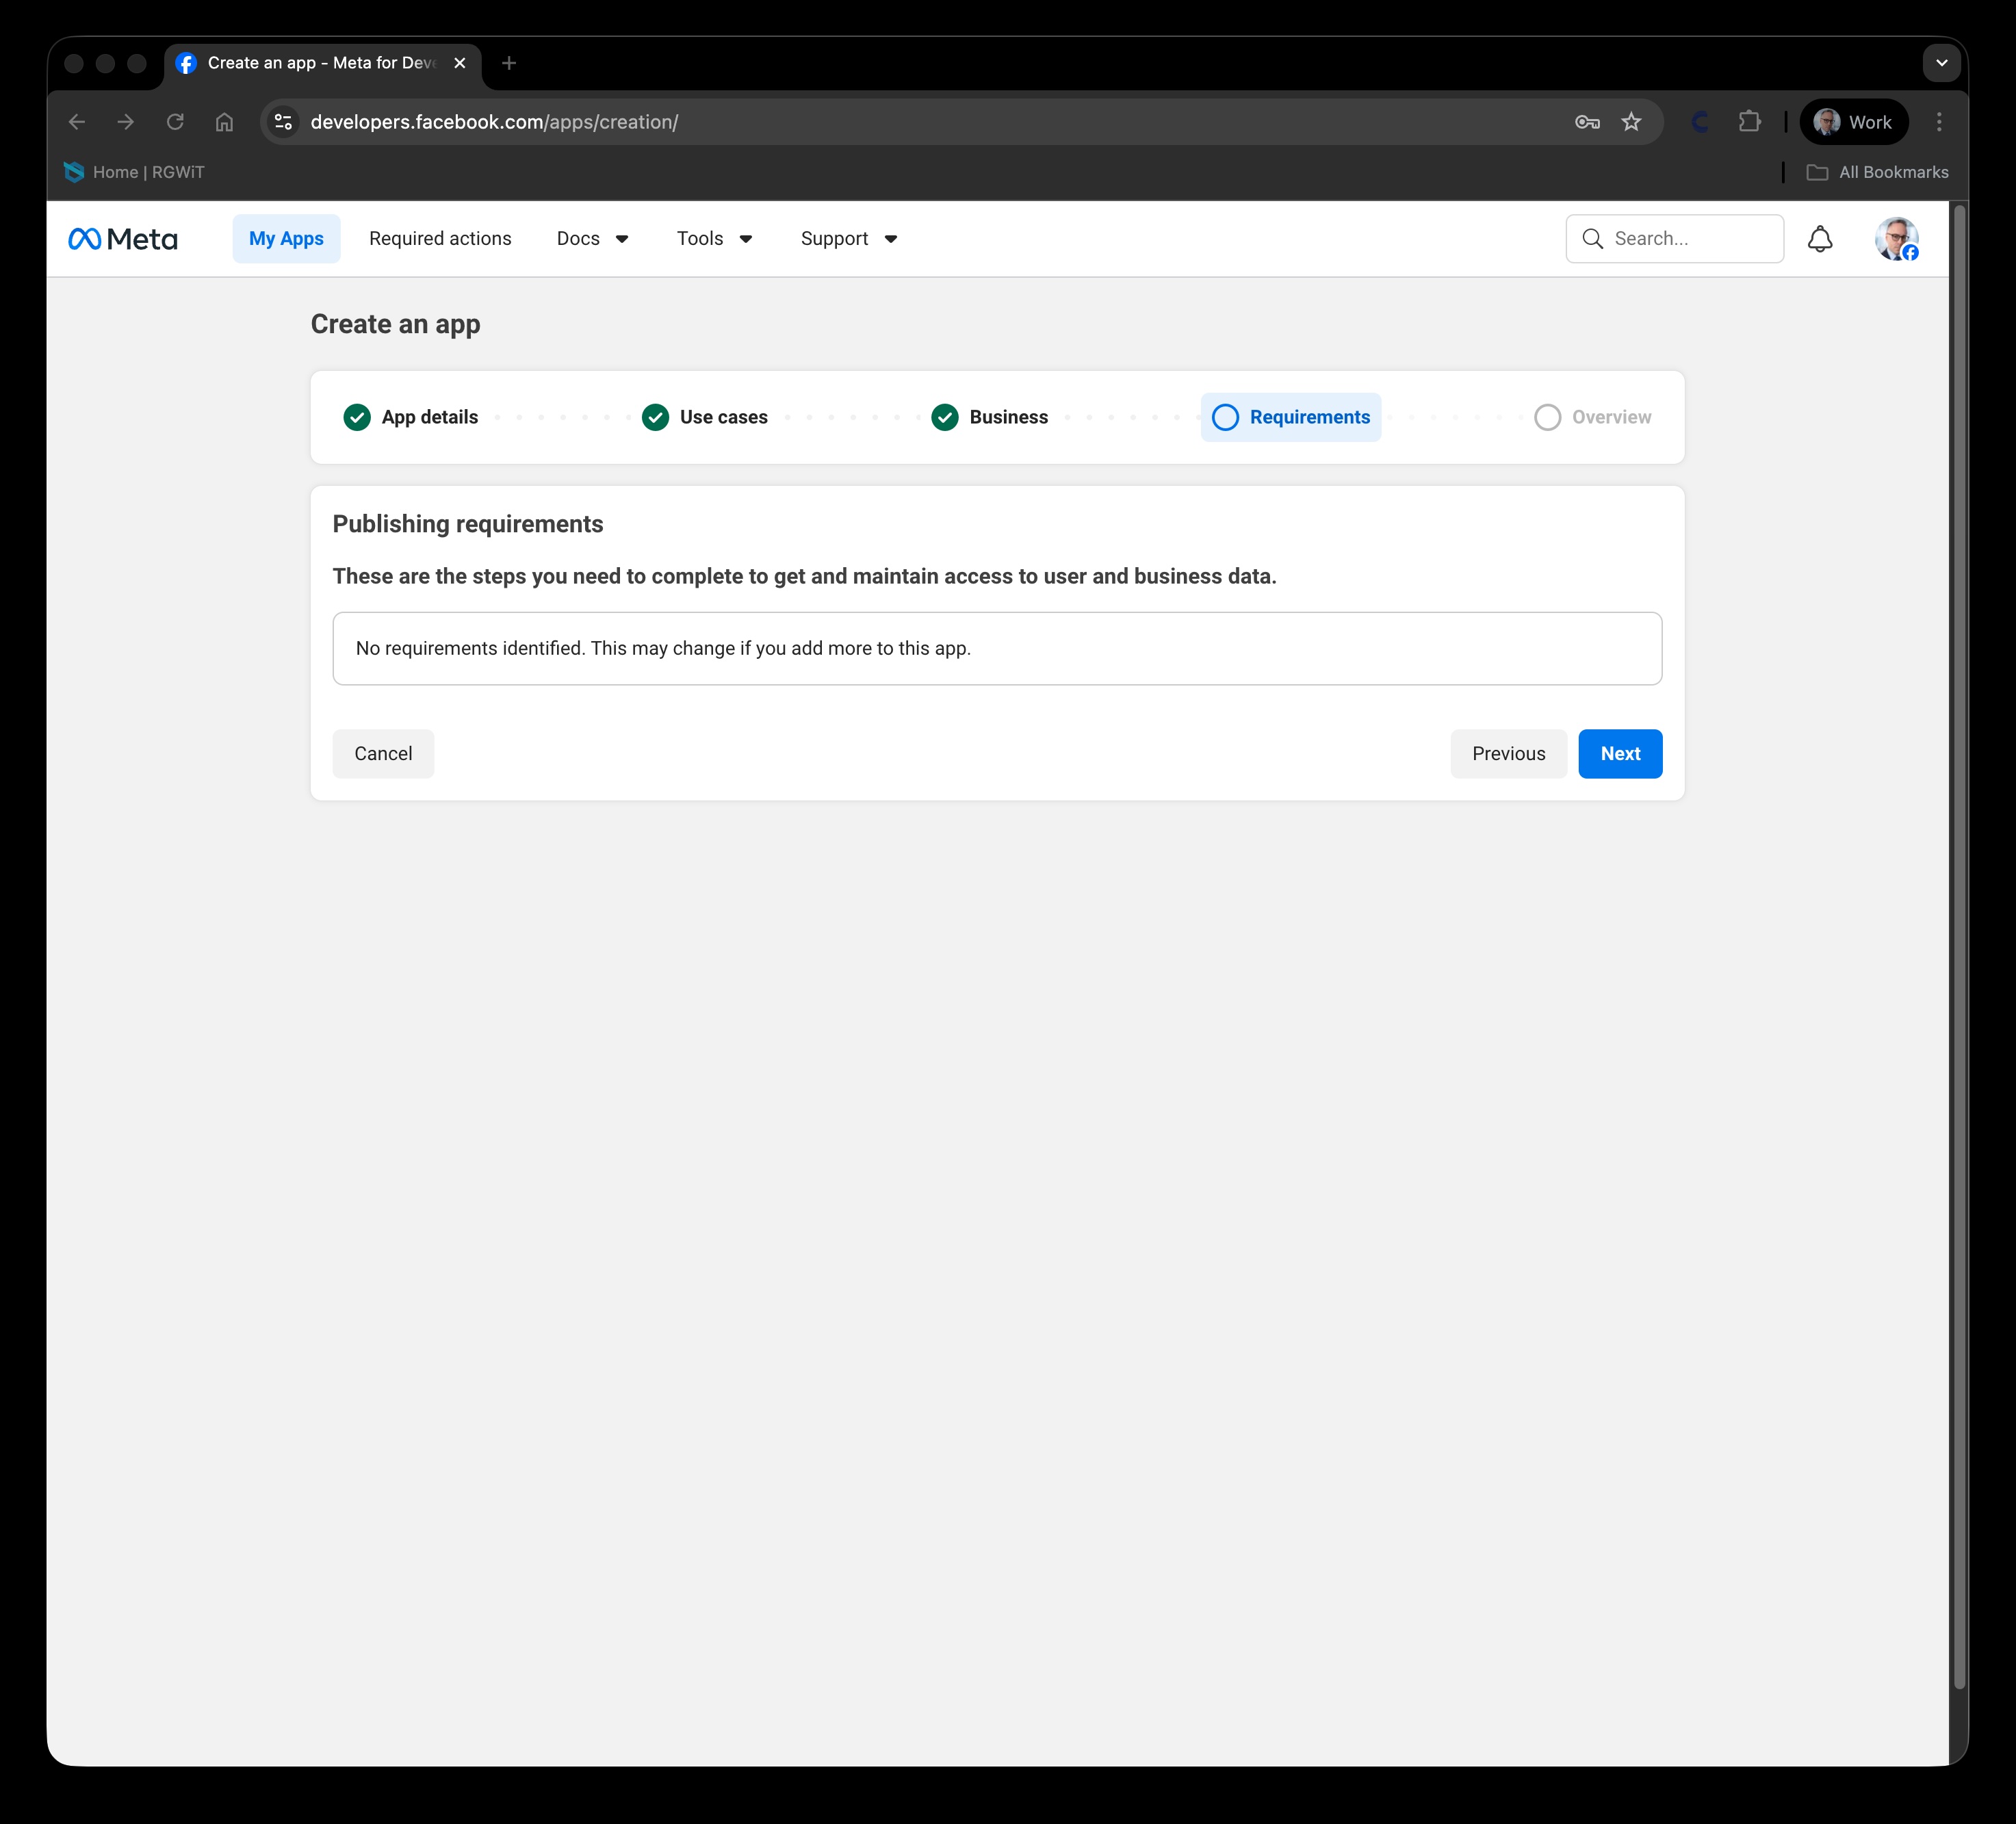
- Ensure that there are No requirements identified between that business portfolio and WhatsApp
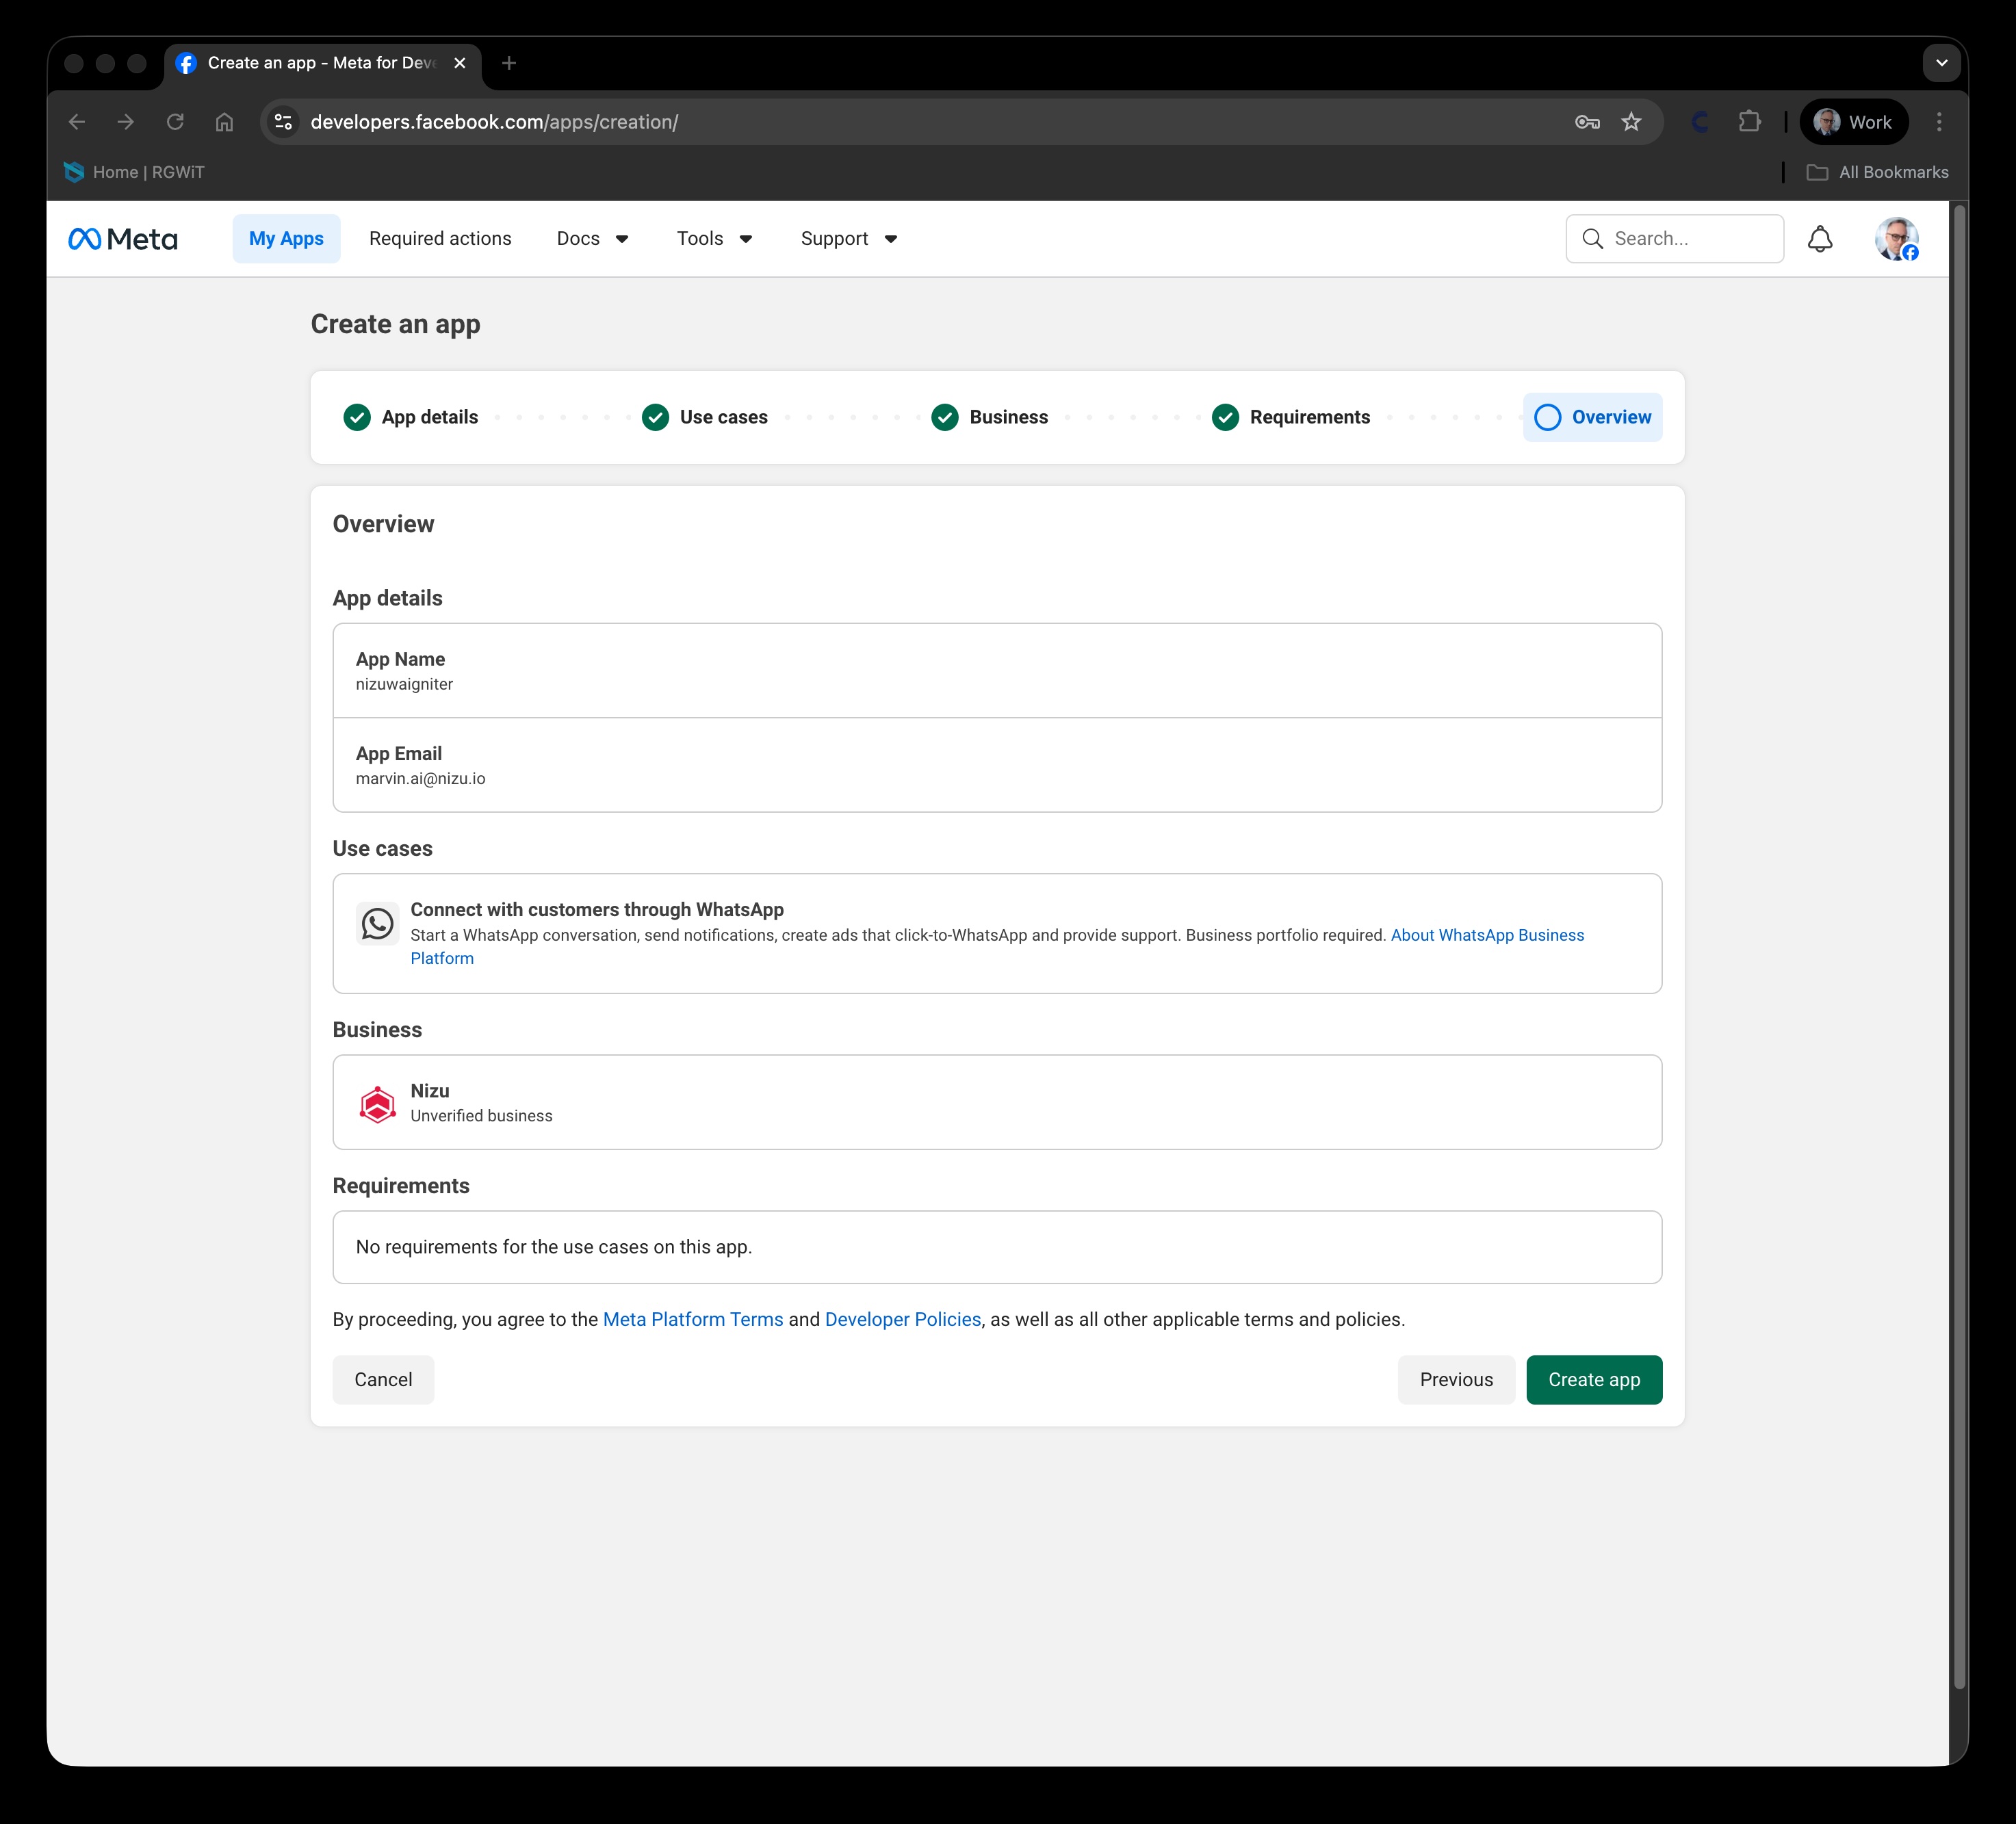
- Review all information, and click on Create App and confirm with your Facebook password.
Once the app is created, you'll land on the App Dashboard page.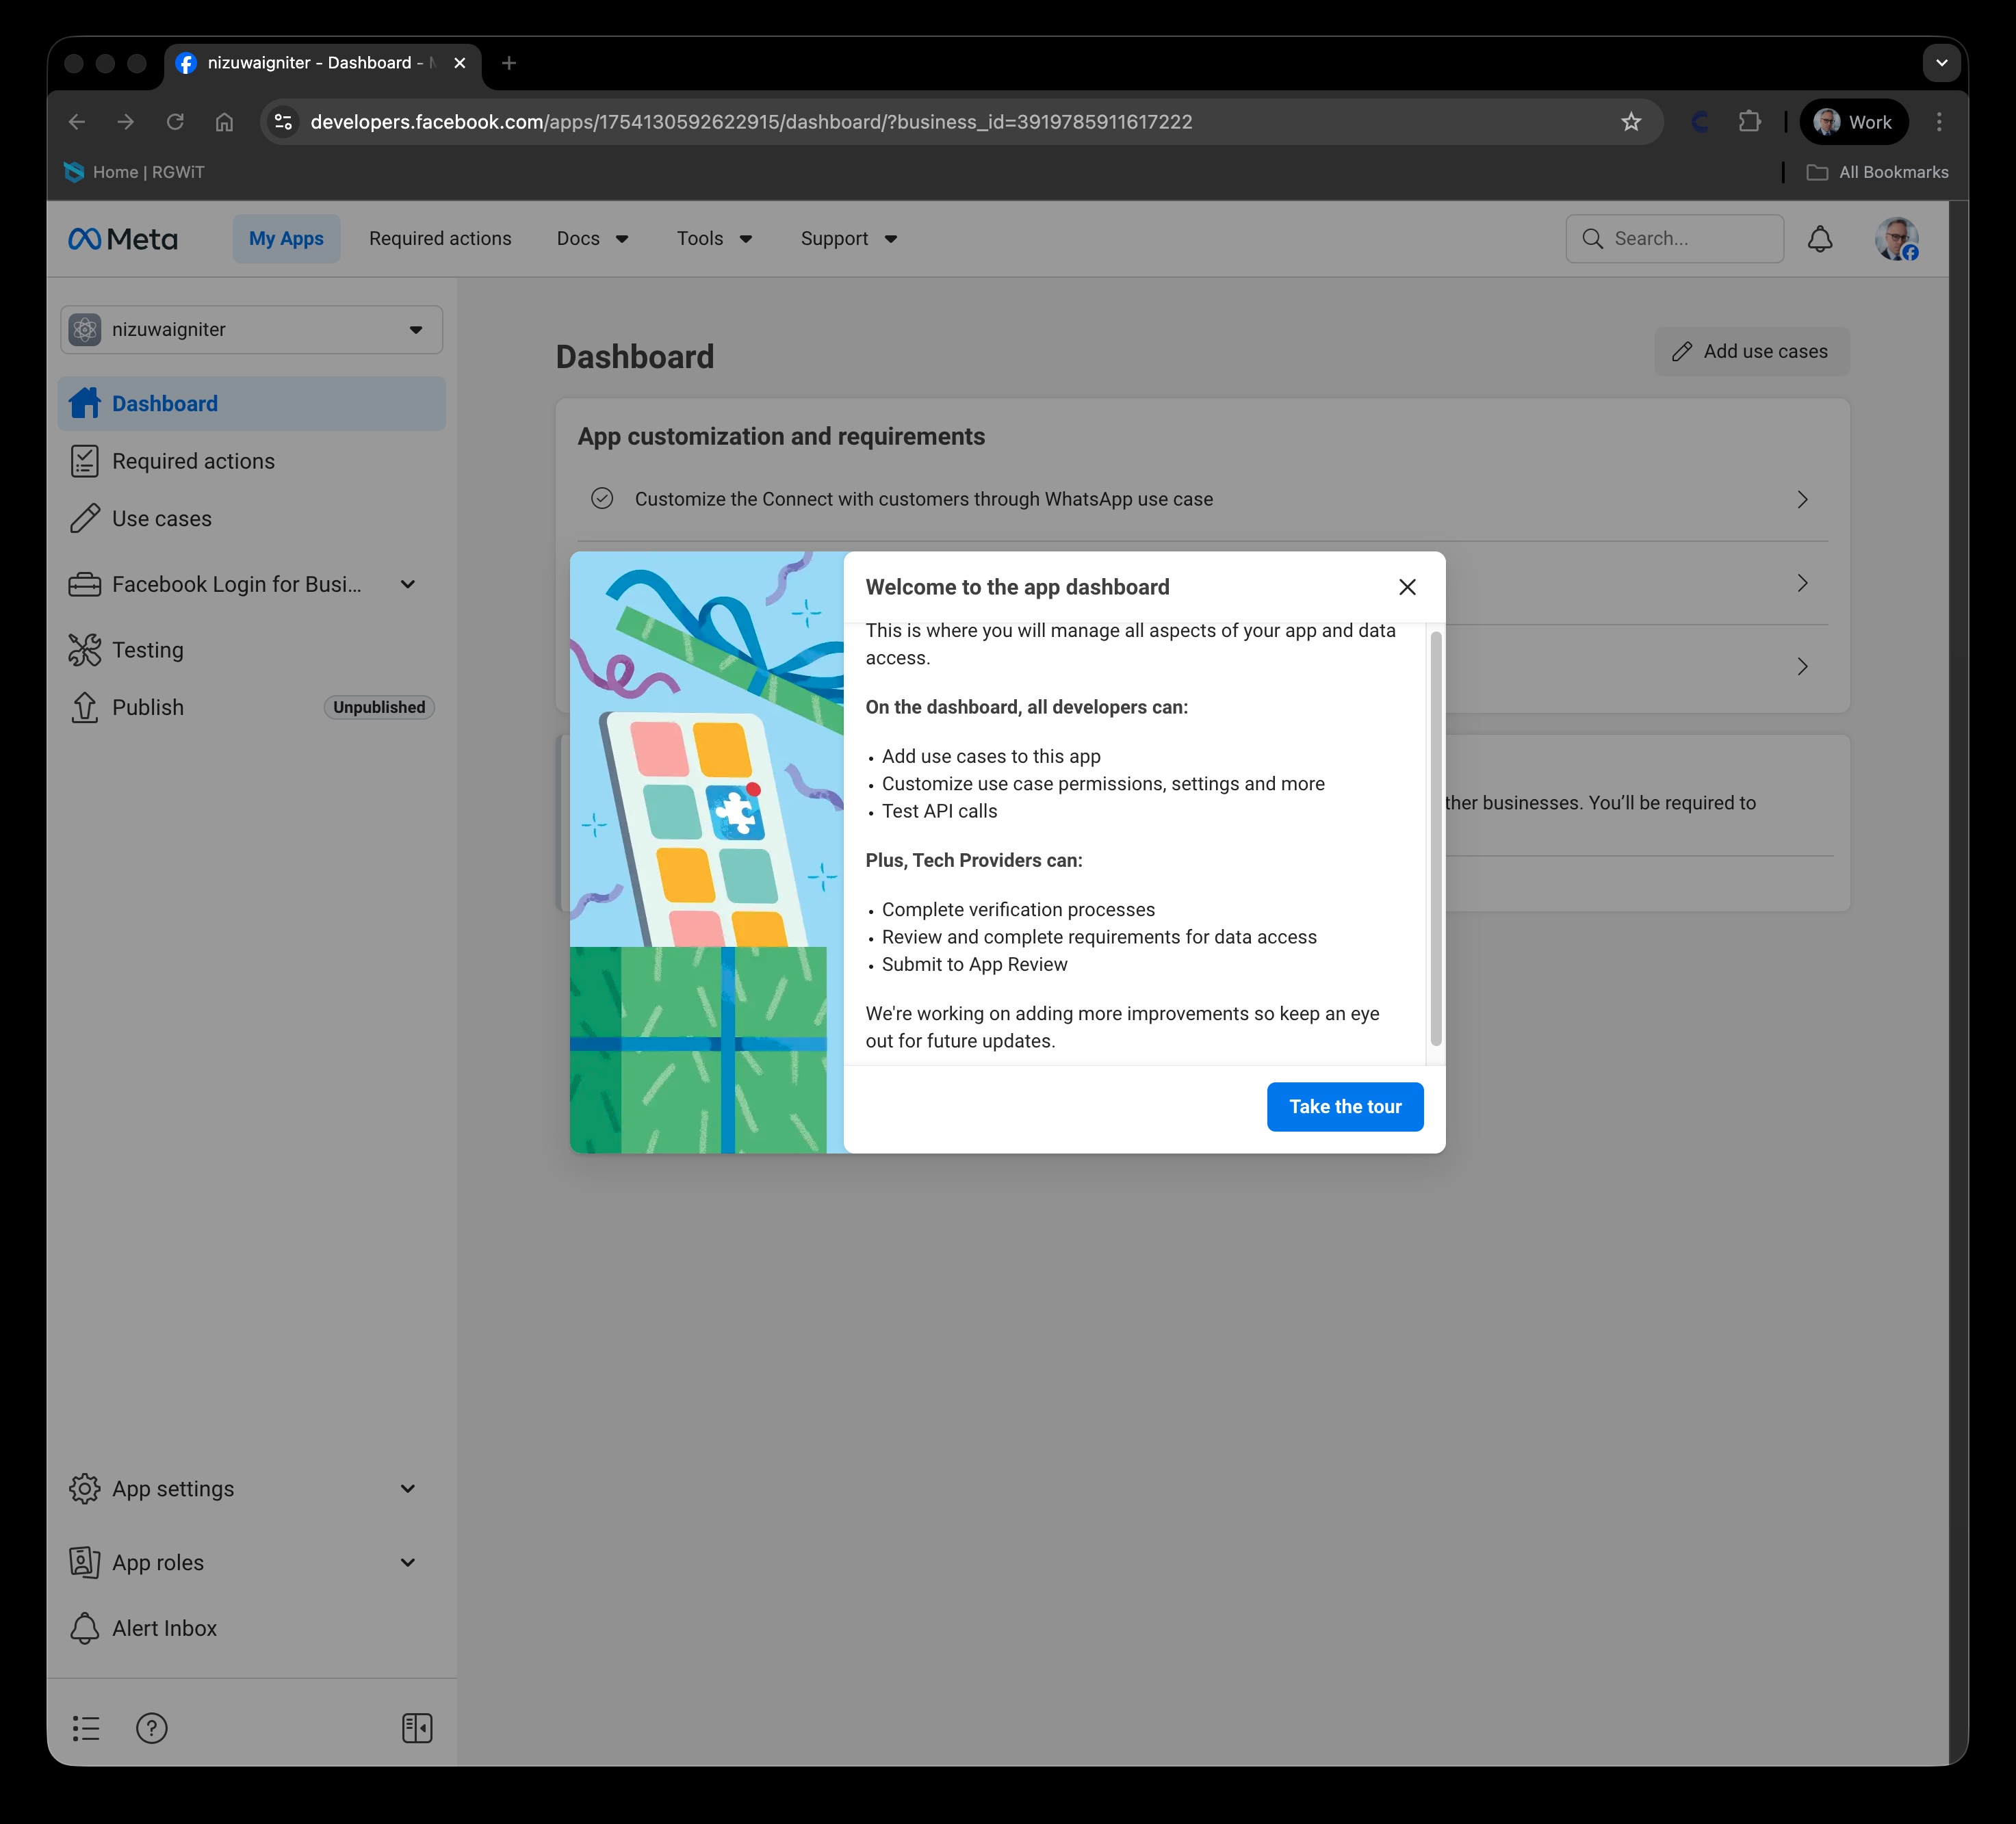
- Once there Take the tour in order to get familiar with the Meta App dashboard (Don't worry you can't do anything dangerous at this point)
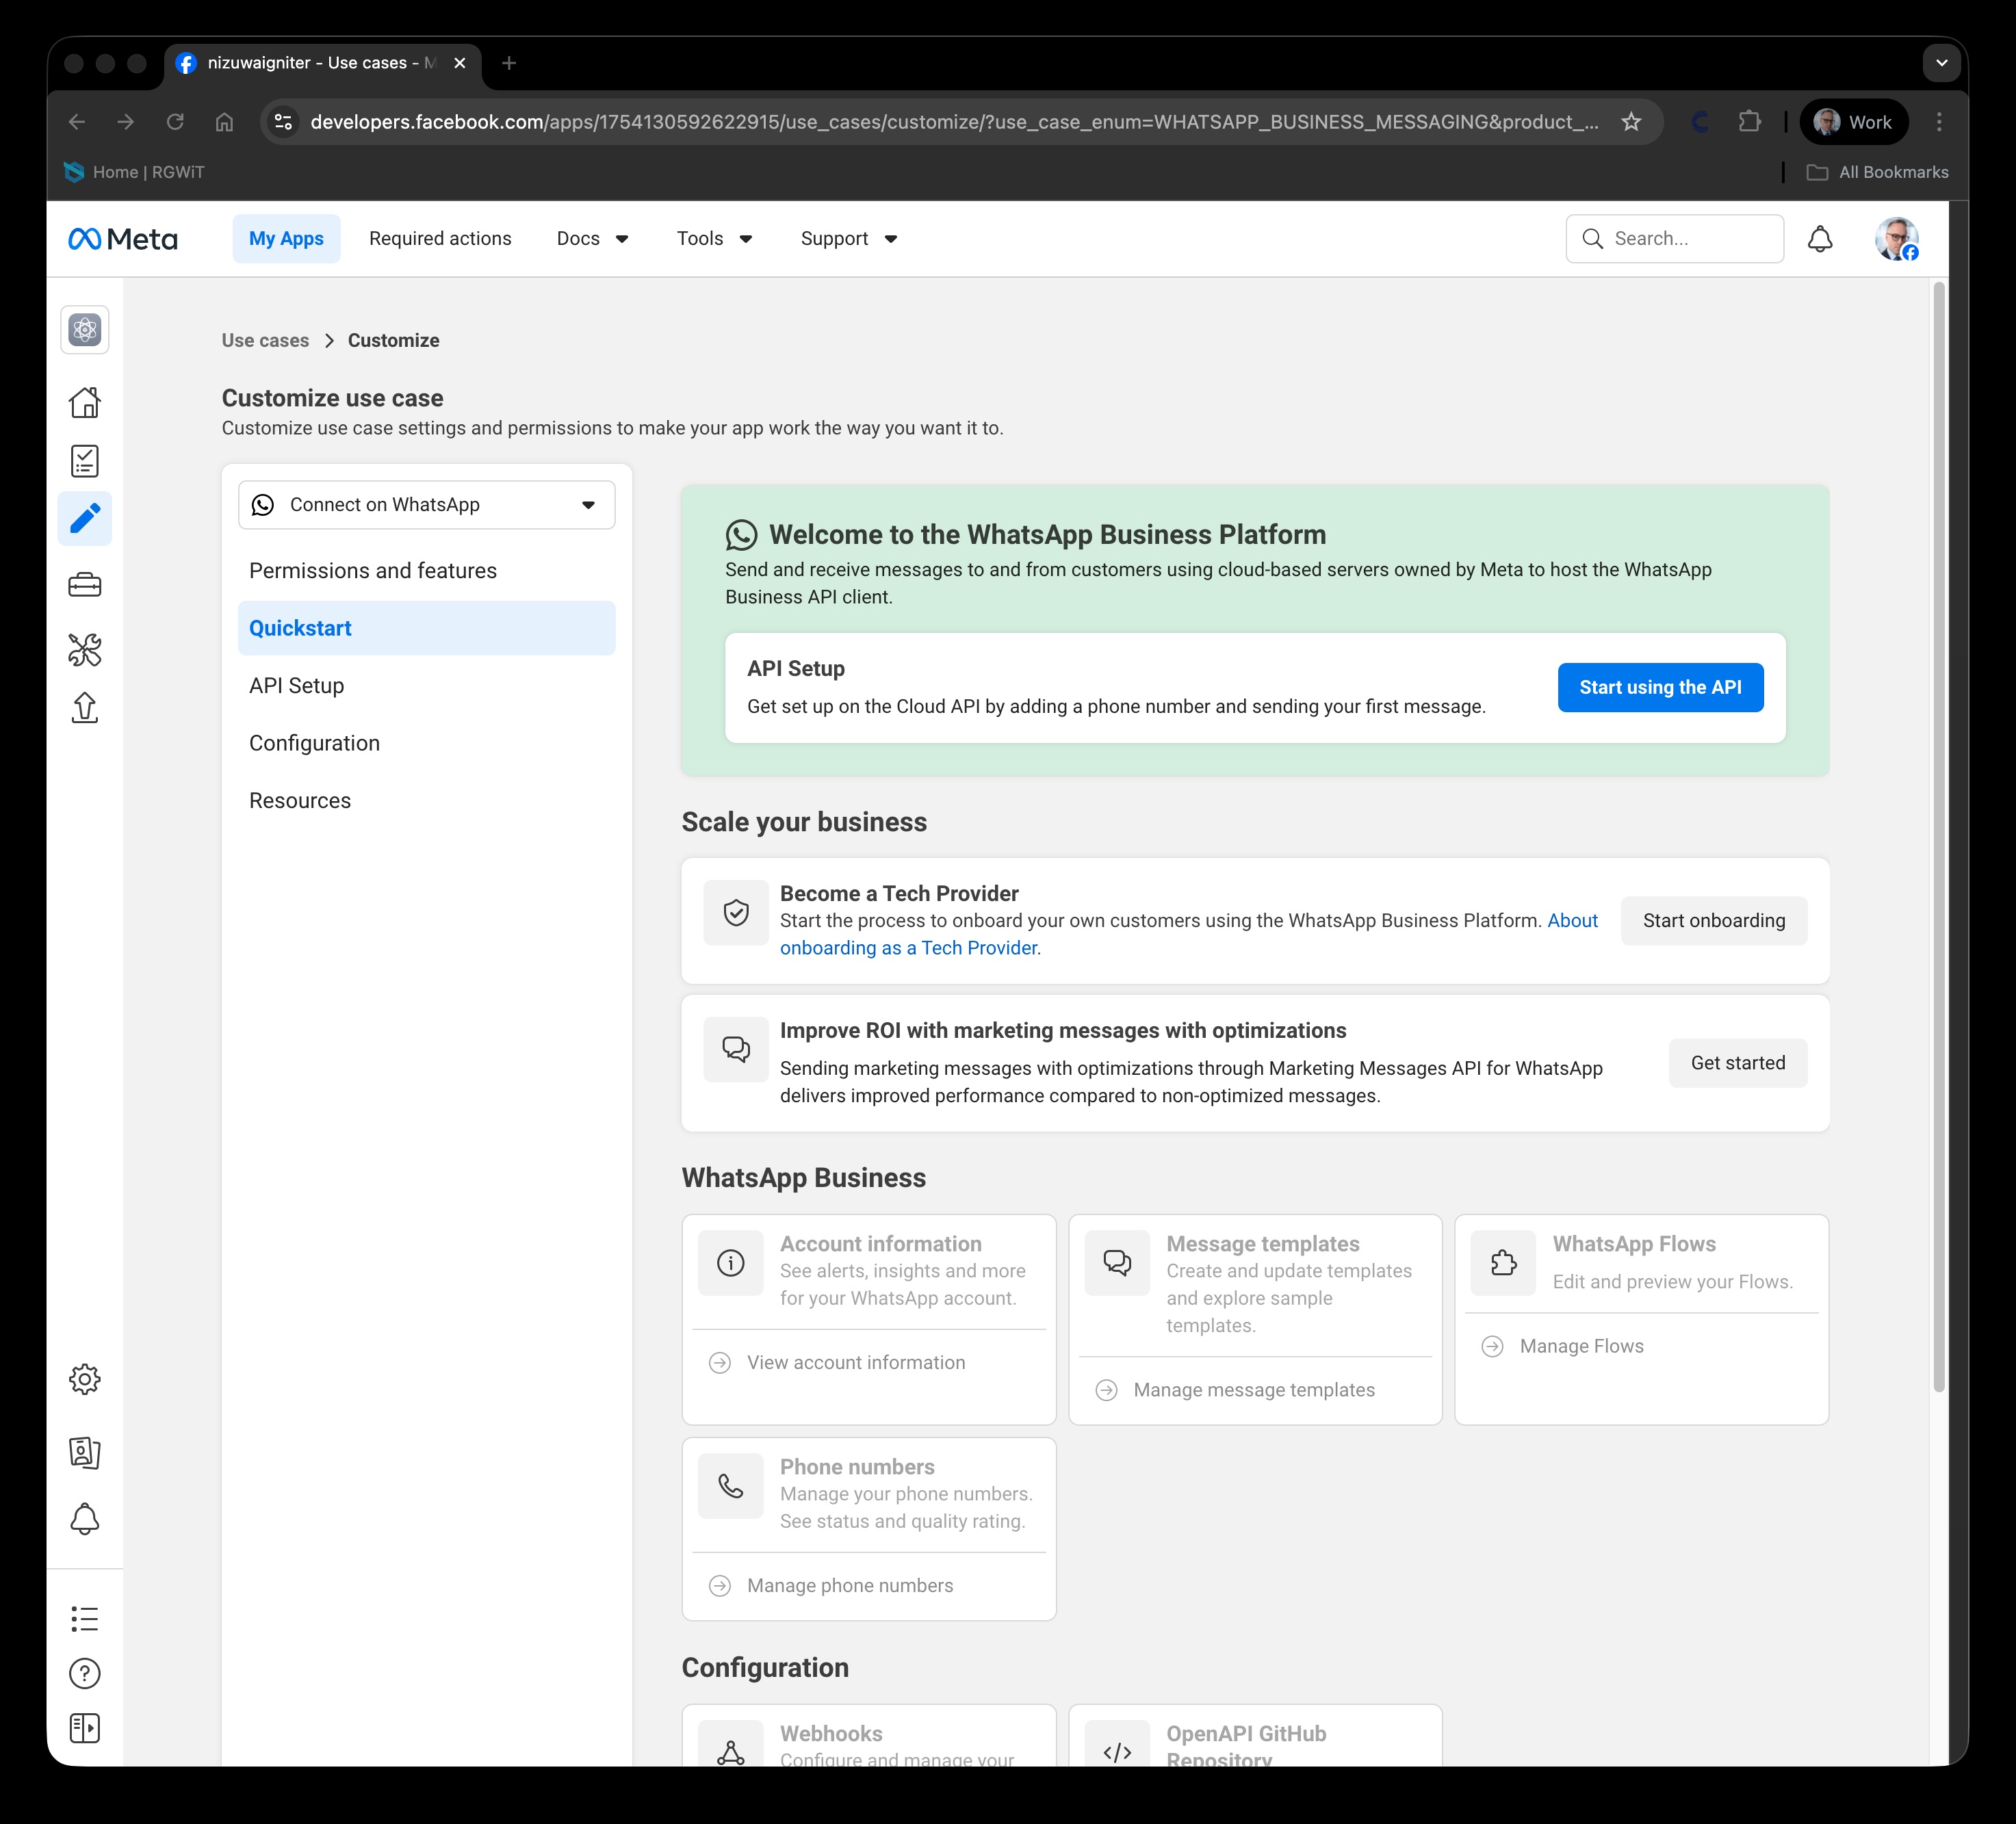
- Scroll down to the WhatsApp section and click Set up. You can add a payment method now or return to it later.
Step 2 — Add a Phone Number
- In the left sidebar, go to API Setup or click on Start using the API.
- Click on Select recipient phone number -> Manage Phone numbers.
- In the modal, fill in your WhatsApp Business profile details:
- Display Name
- Timezone
- Category
- Business Description (optional)
- Click Next.
- Enter your phone number and choose a verification method — text message or phone call.
- Click Next and complete the verification.
Step 3 — Configure the Webhook
- From API Setup, click the Configure WebHooks link (Step 3 on the page).
- On the Configuration page, click Edit in the WebHook section.
- Retrieve your WebHook credentials from NIZU:
- In the NIZU sidebar, go to WhatsBoost → Connect Account.
- Copy the WebHook Callback URL and the Verify Token.
- Paste them into the respective fields on the Facebook Developer Configuration page.
- Click Verify and Save.
- Click Manage to open the WebHook fields modal. Subscribe to the messages field and click Done.
- Click Save Changes.
- Enable Live Mode using the toggle.
Step 4 — Generate a Permanent Access Token
A permanent (system user) token is required so your bot stays connected without expiring.
- From API Setup, click See the overview page (Step 5).
- On the overview page, open Business Settings from the menu.
- In the left sidebar, select System Users and click Add.
- Enter a name for the system user, assign a role (Employee or Admin), and click Create System User.
- Select the new user, then click Add Assets.
- Under Select Asset Type, choose Apps.
- Select your app and grant Full Control.
- Click Save Changes.
- Click Generate New Token.
- Select your app from the dropdown.
- Enable the following permissions:
business_managementcatalog_managementwhatsapp_business_messagingwhatsapp_business_management
- Click Generate Token.
- Copy and save the token somewhere secure — it won't be shown again.
Step 5 — Connect Your Account in NIZU
- In the NIZU sidebar, go to WhatsApp → Connect WhatsApp.
- Retrieve your WhatsApp Business Account ID:
- Go to Business Settings → WhatsApp Accounts in the left sidebar.
- Copy the ID shown.
- Enter your Access Token and WhatsApp Business Account ID in the connection form.
- Click Connect.
A success message confirms the account is linked. ????
Wednesday, 6 May 2026, 11:30 AM
Created by: Konstantin Stojanovski